The third Tiggy Tour involving Surrender mine, the first being Healaugh to Surrender Mine and the second being the short Surrender Mine meander. As always parking close to Surrender Mine, here by Surrender Bridge.
Since this tour the Old Gang Smelting Mill has made its name in Hollywood! Starring in the 2026 Wuthering Heights film with Margot Robbie…

This route follows the Surrender Mine route but carries on further, following the track clockwise around Reeth High Moor. Passing by historical lead mining remains, past Great Pinseat and back to Surrender mine via the other side of the Moor.


Here is Tiggy at the car park, looking across the beck to Surrender Mine, this route visits the mine at the very end.

Crossing Surrender Bridge and heading onto the track, one last look back at Tiggy parked up.

This is the nice, easy gravel track the route follows for most of the hike.

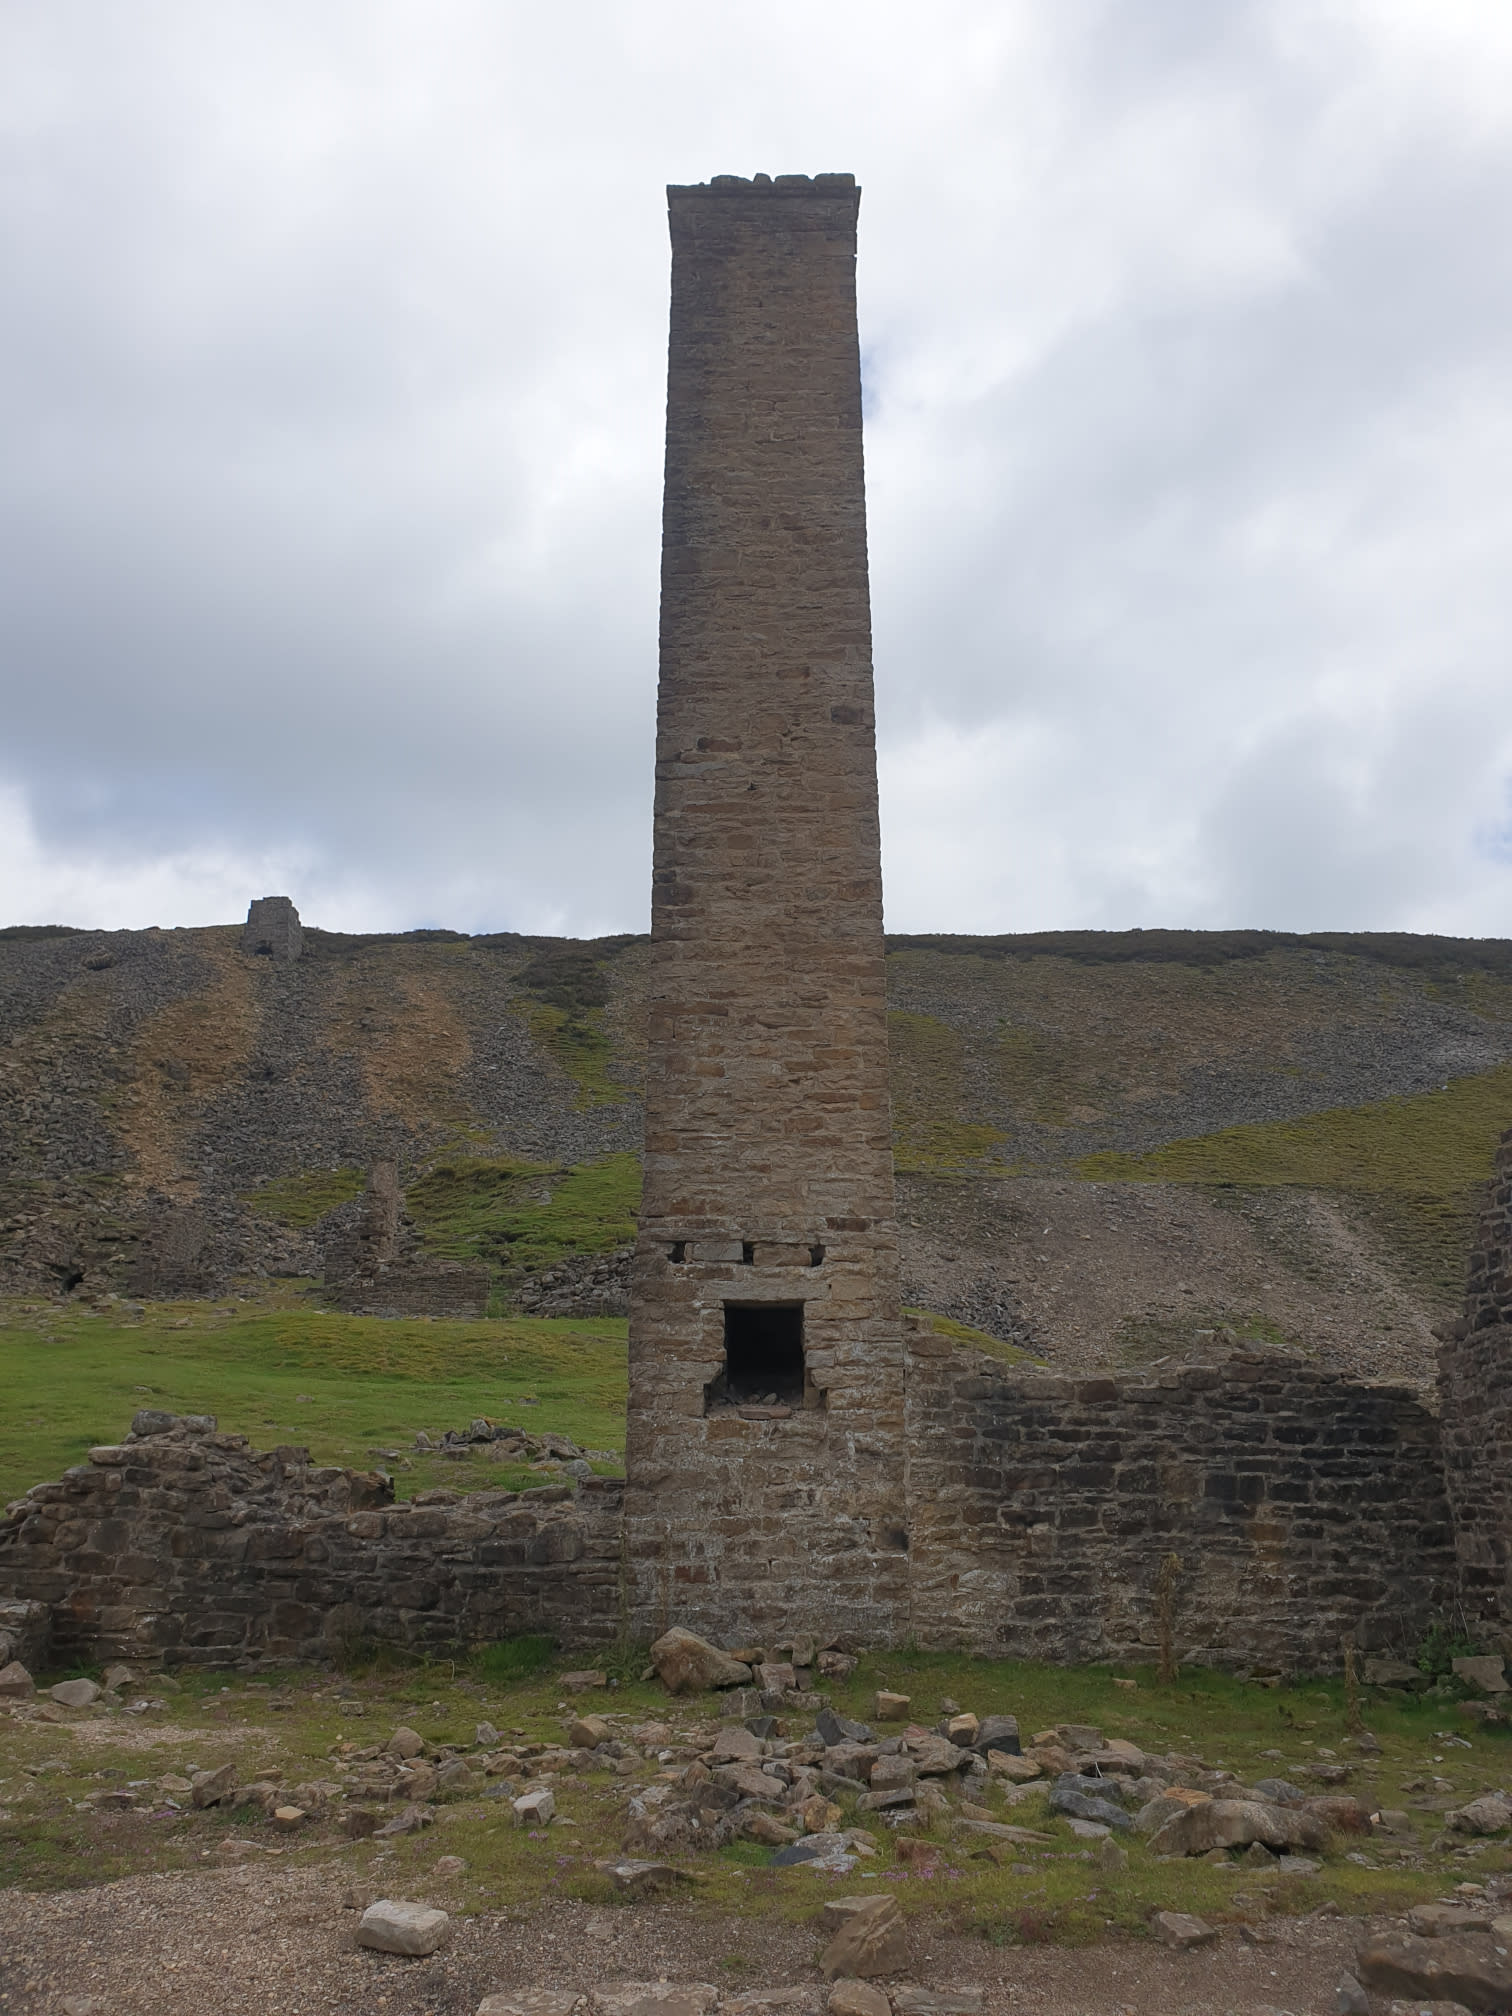
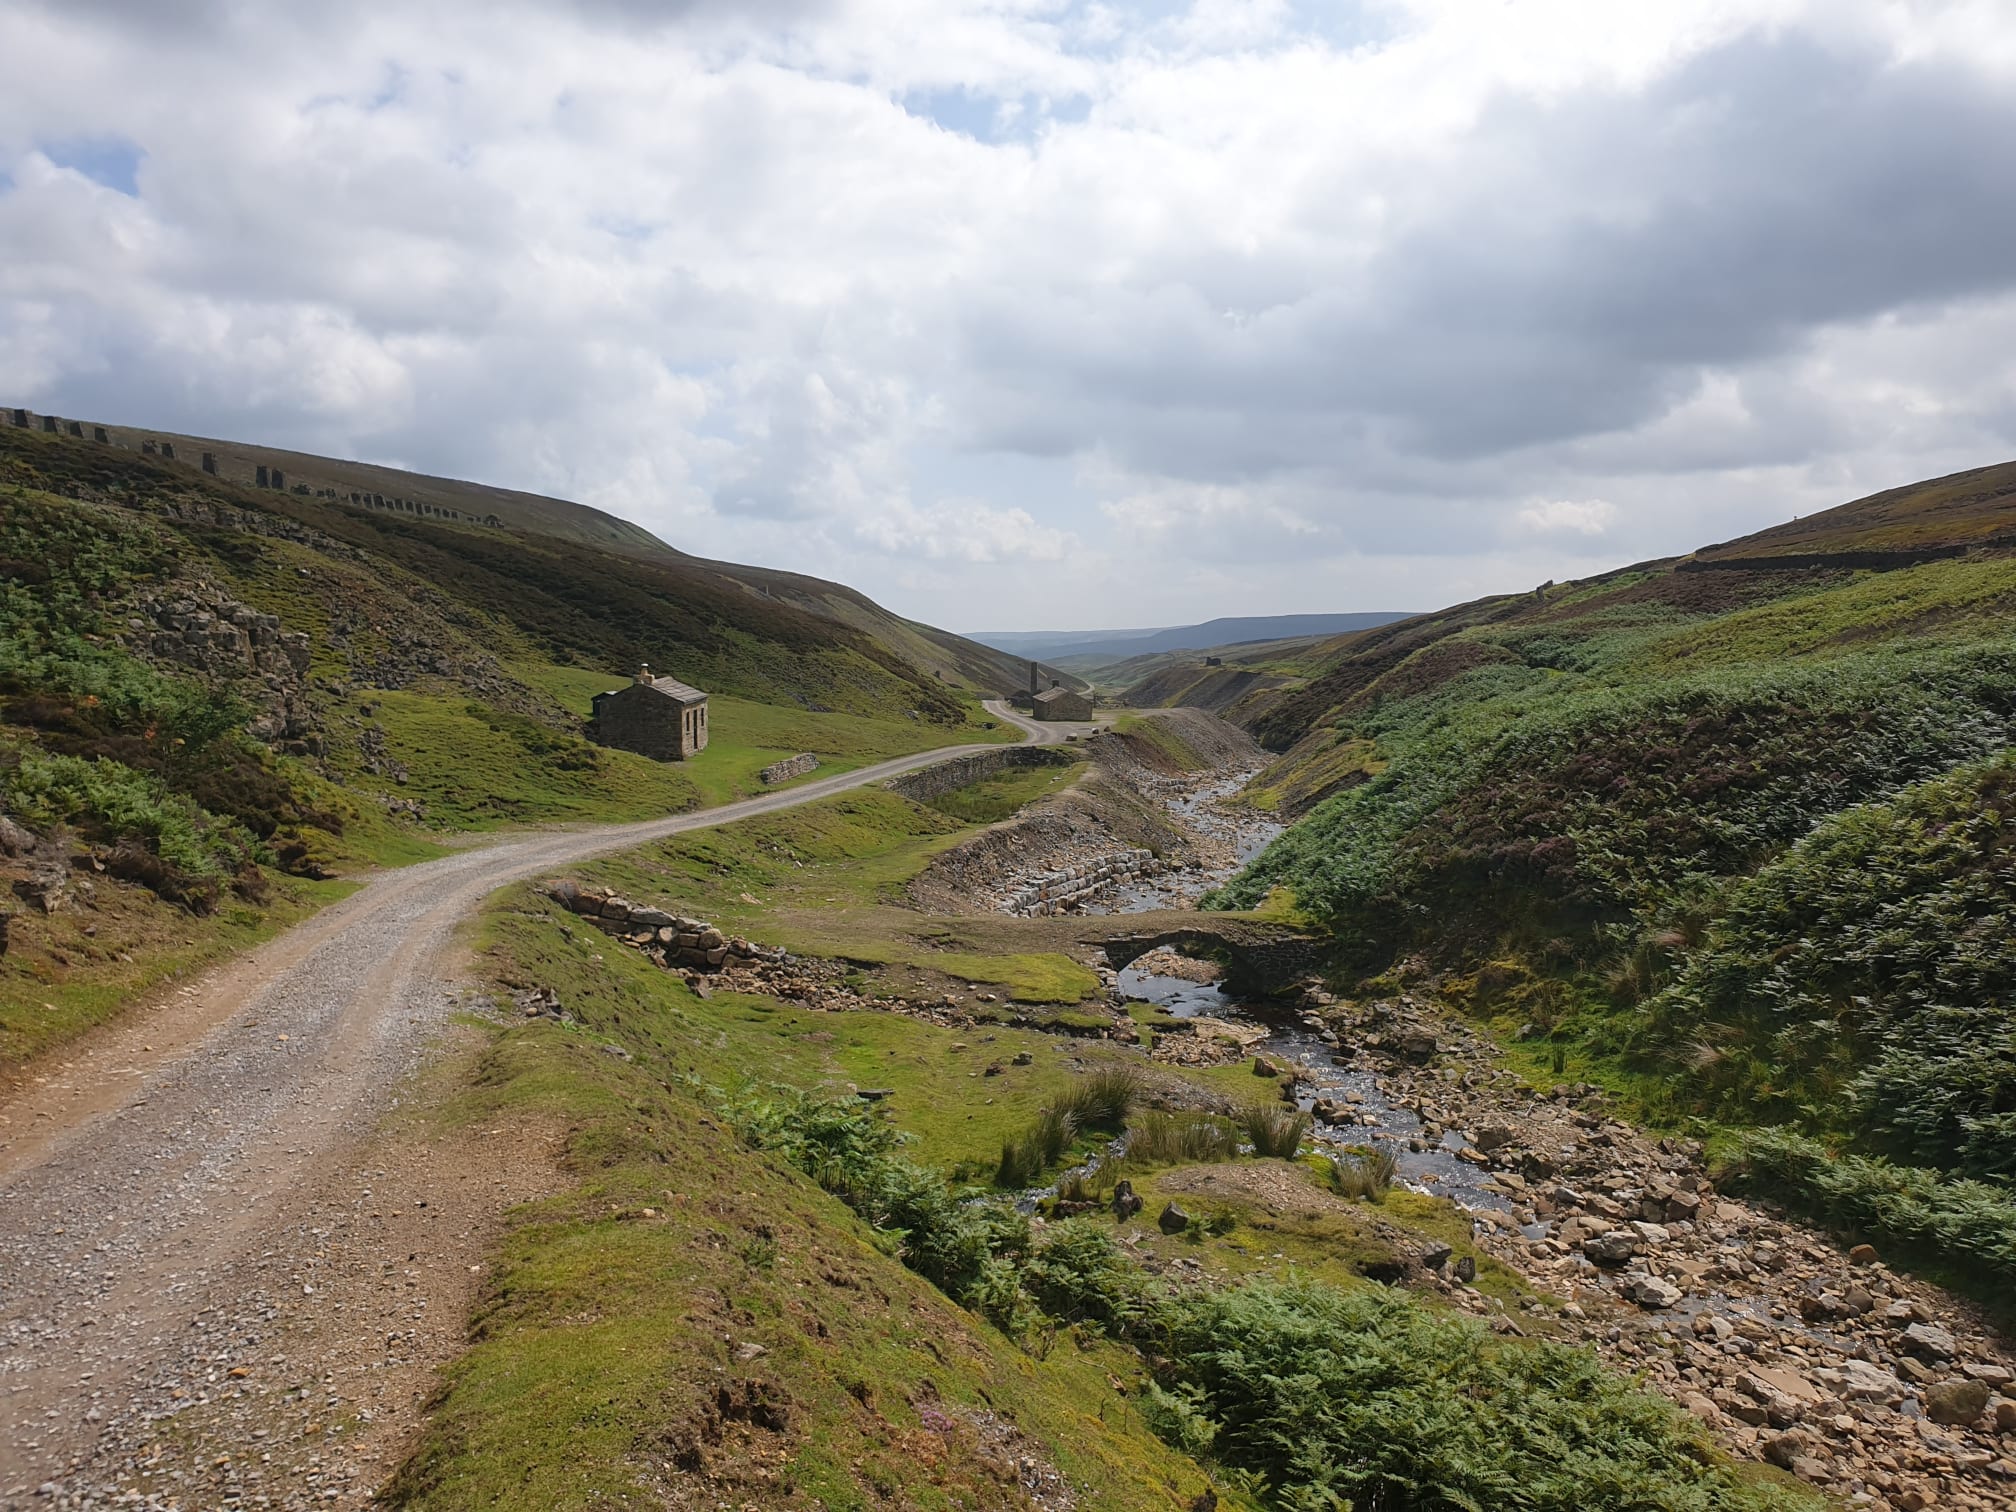
Head west along the track with the Old Gang Beck on the lefthand side for around a mile and the Old Gang Smetling Mill appears on the horizon.

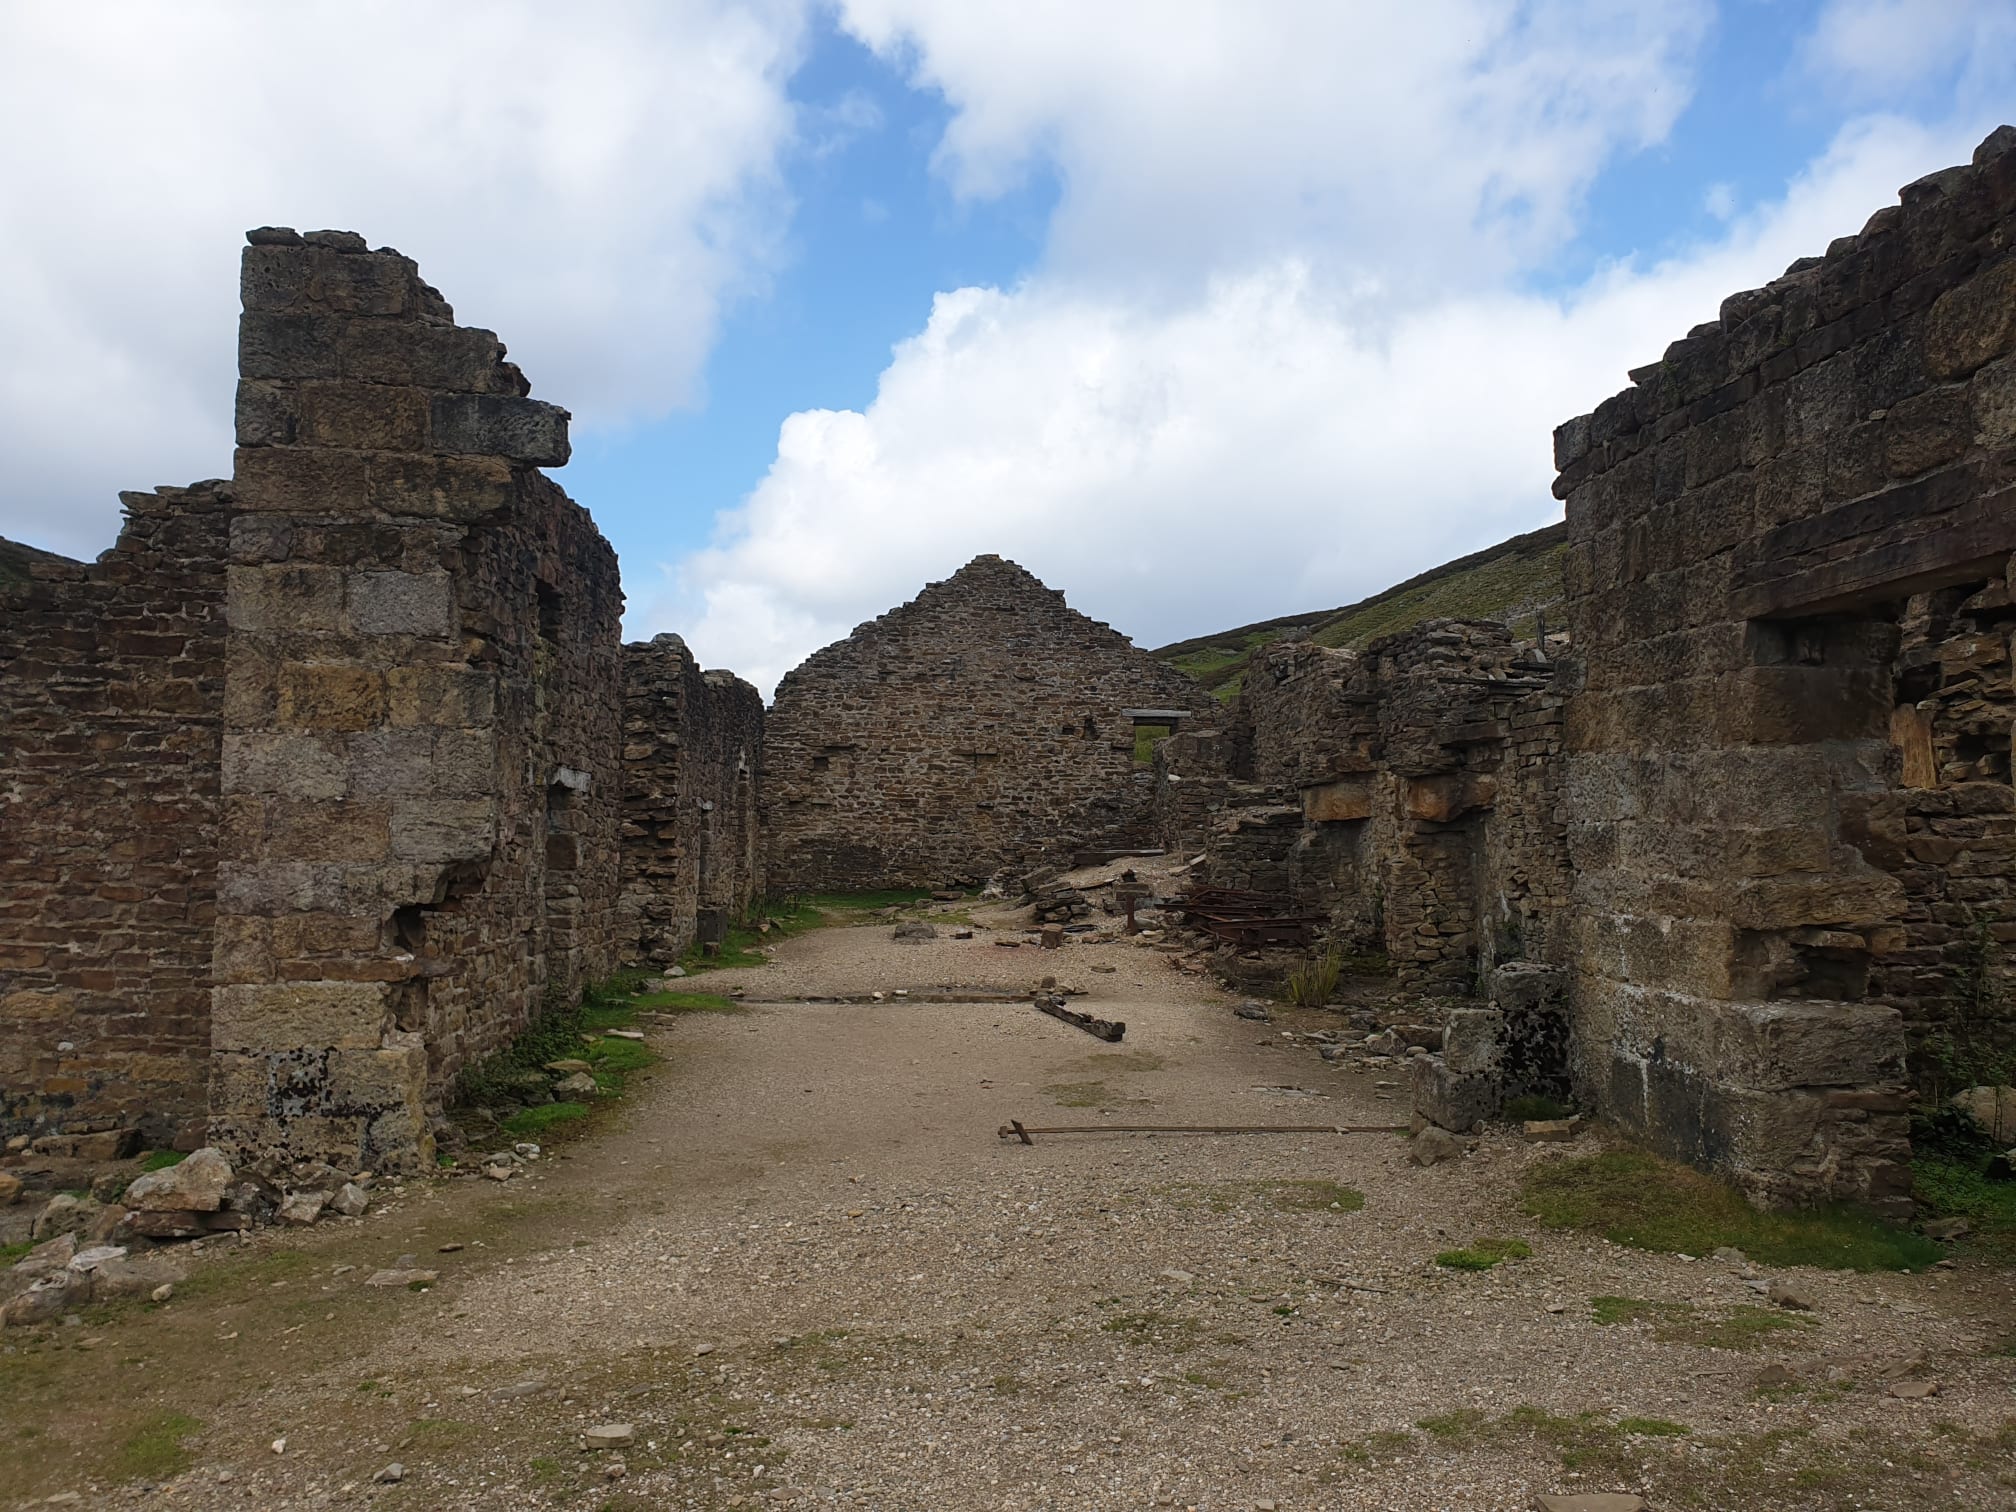
The track passes right by the ruins.


Leaving the ruins behind, continue to follow the track northwest.

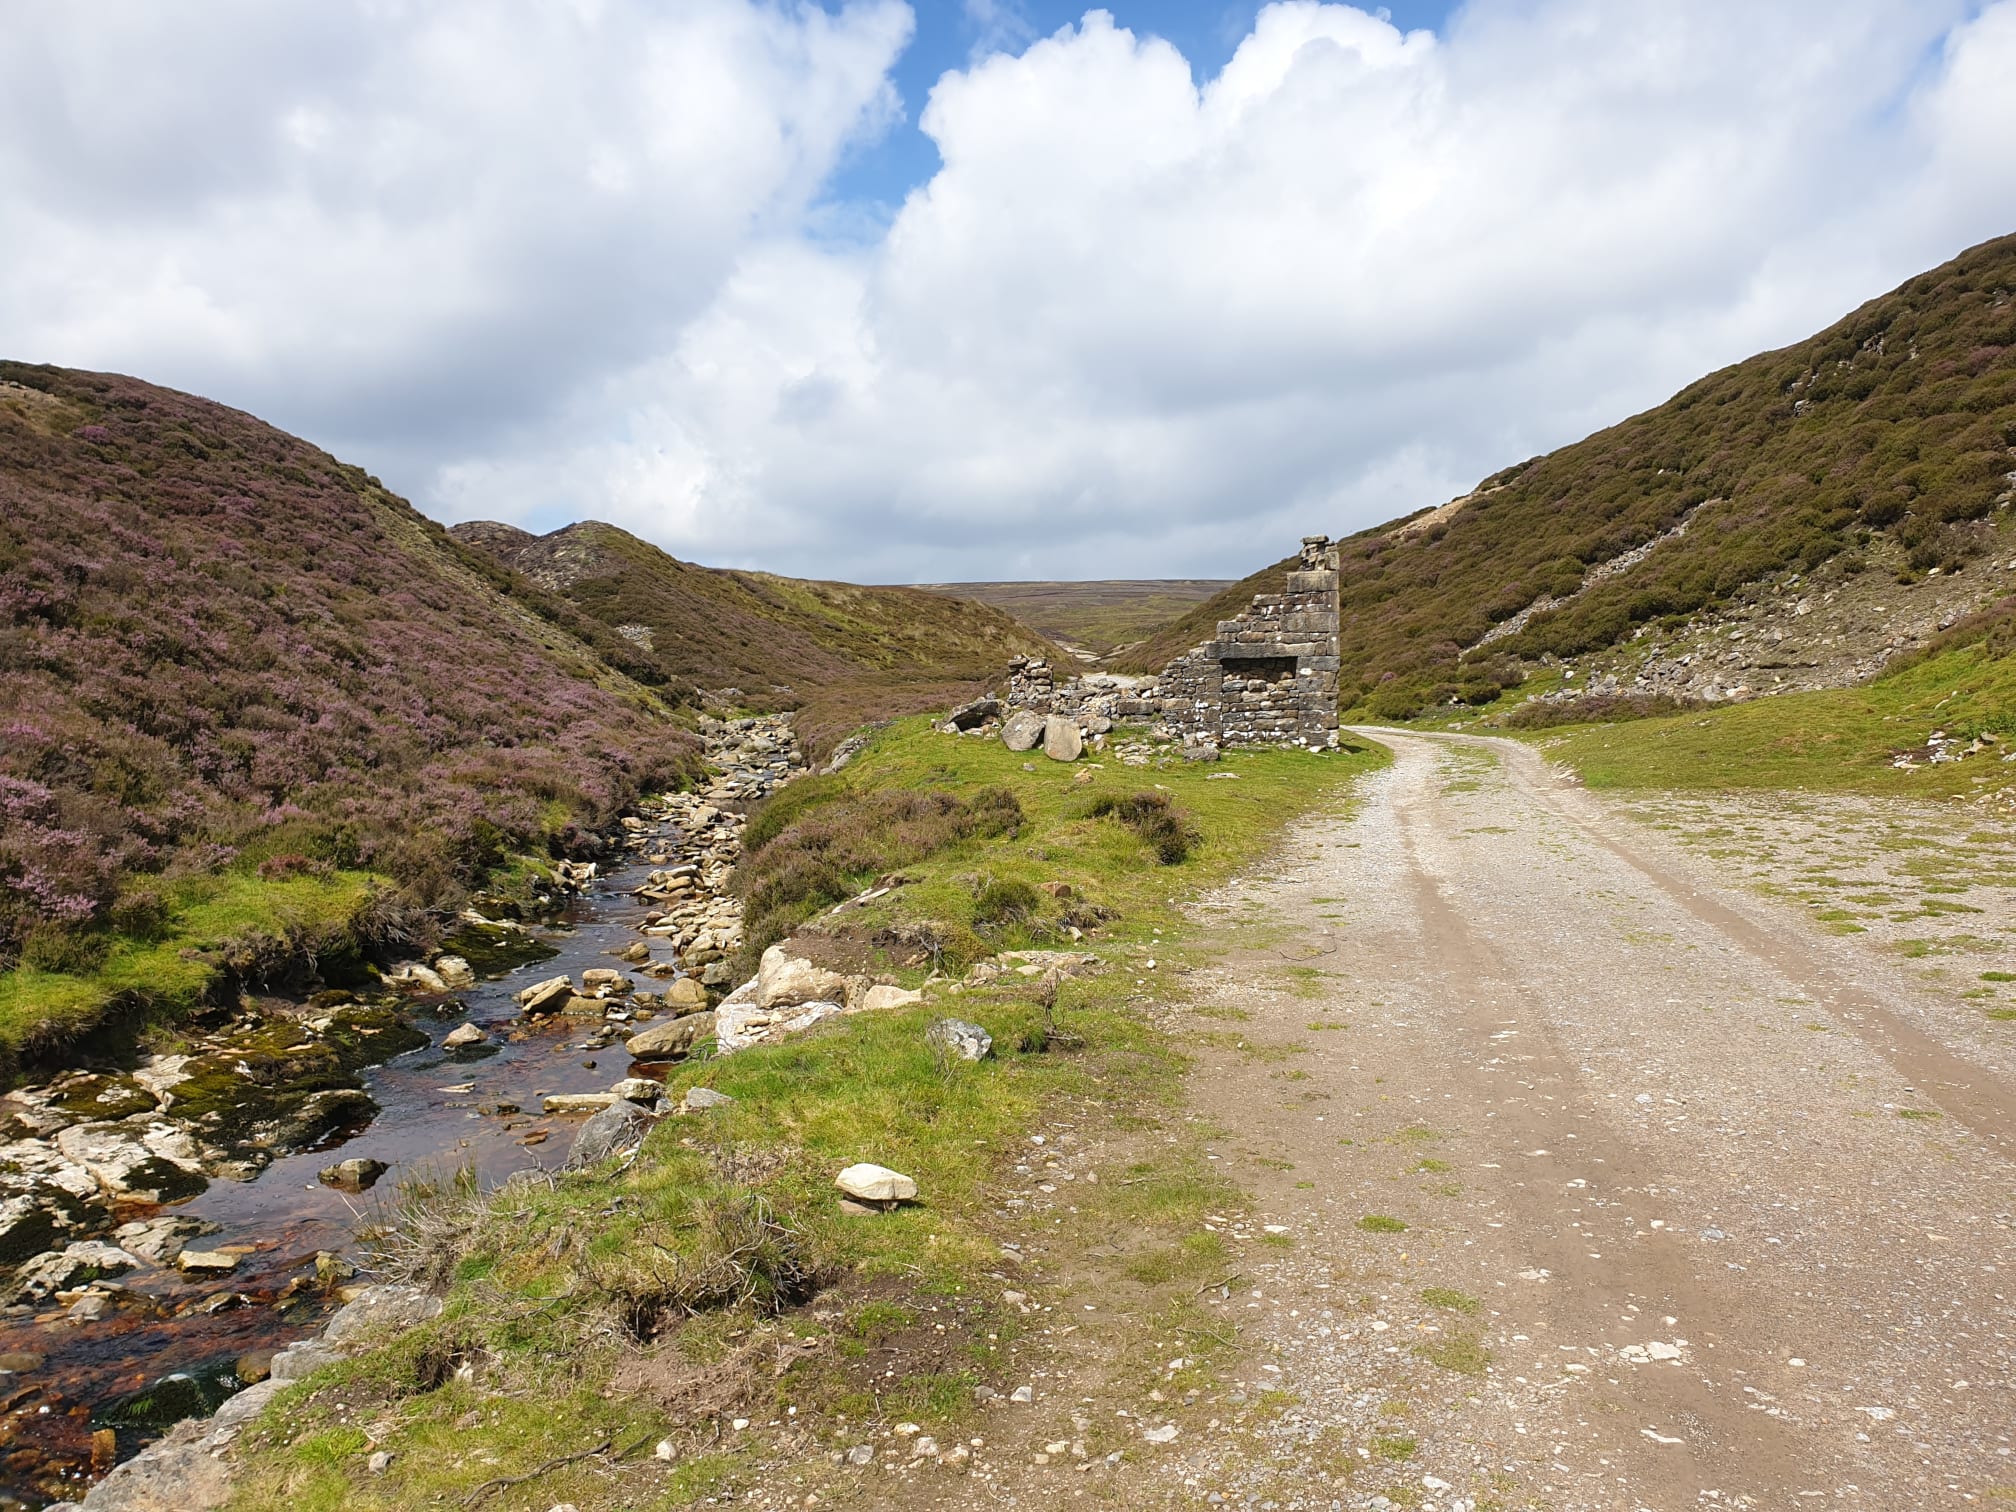
Along the route are ruins of the mill and lead mining industry.


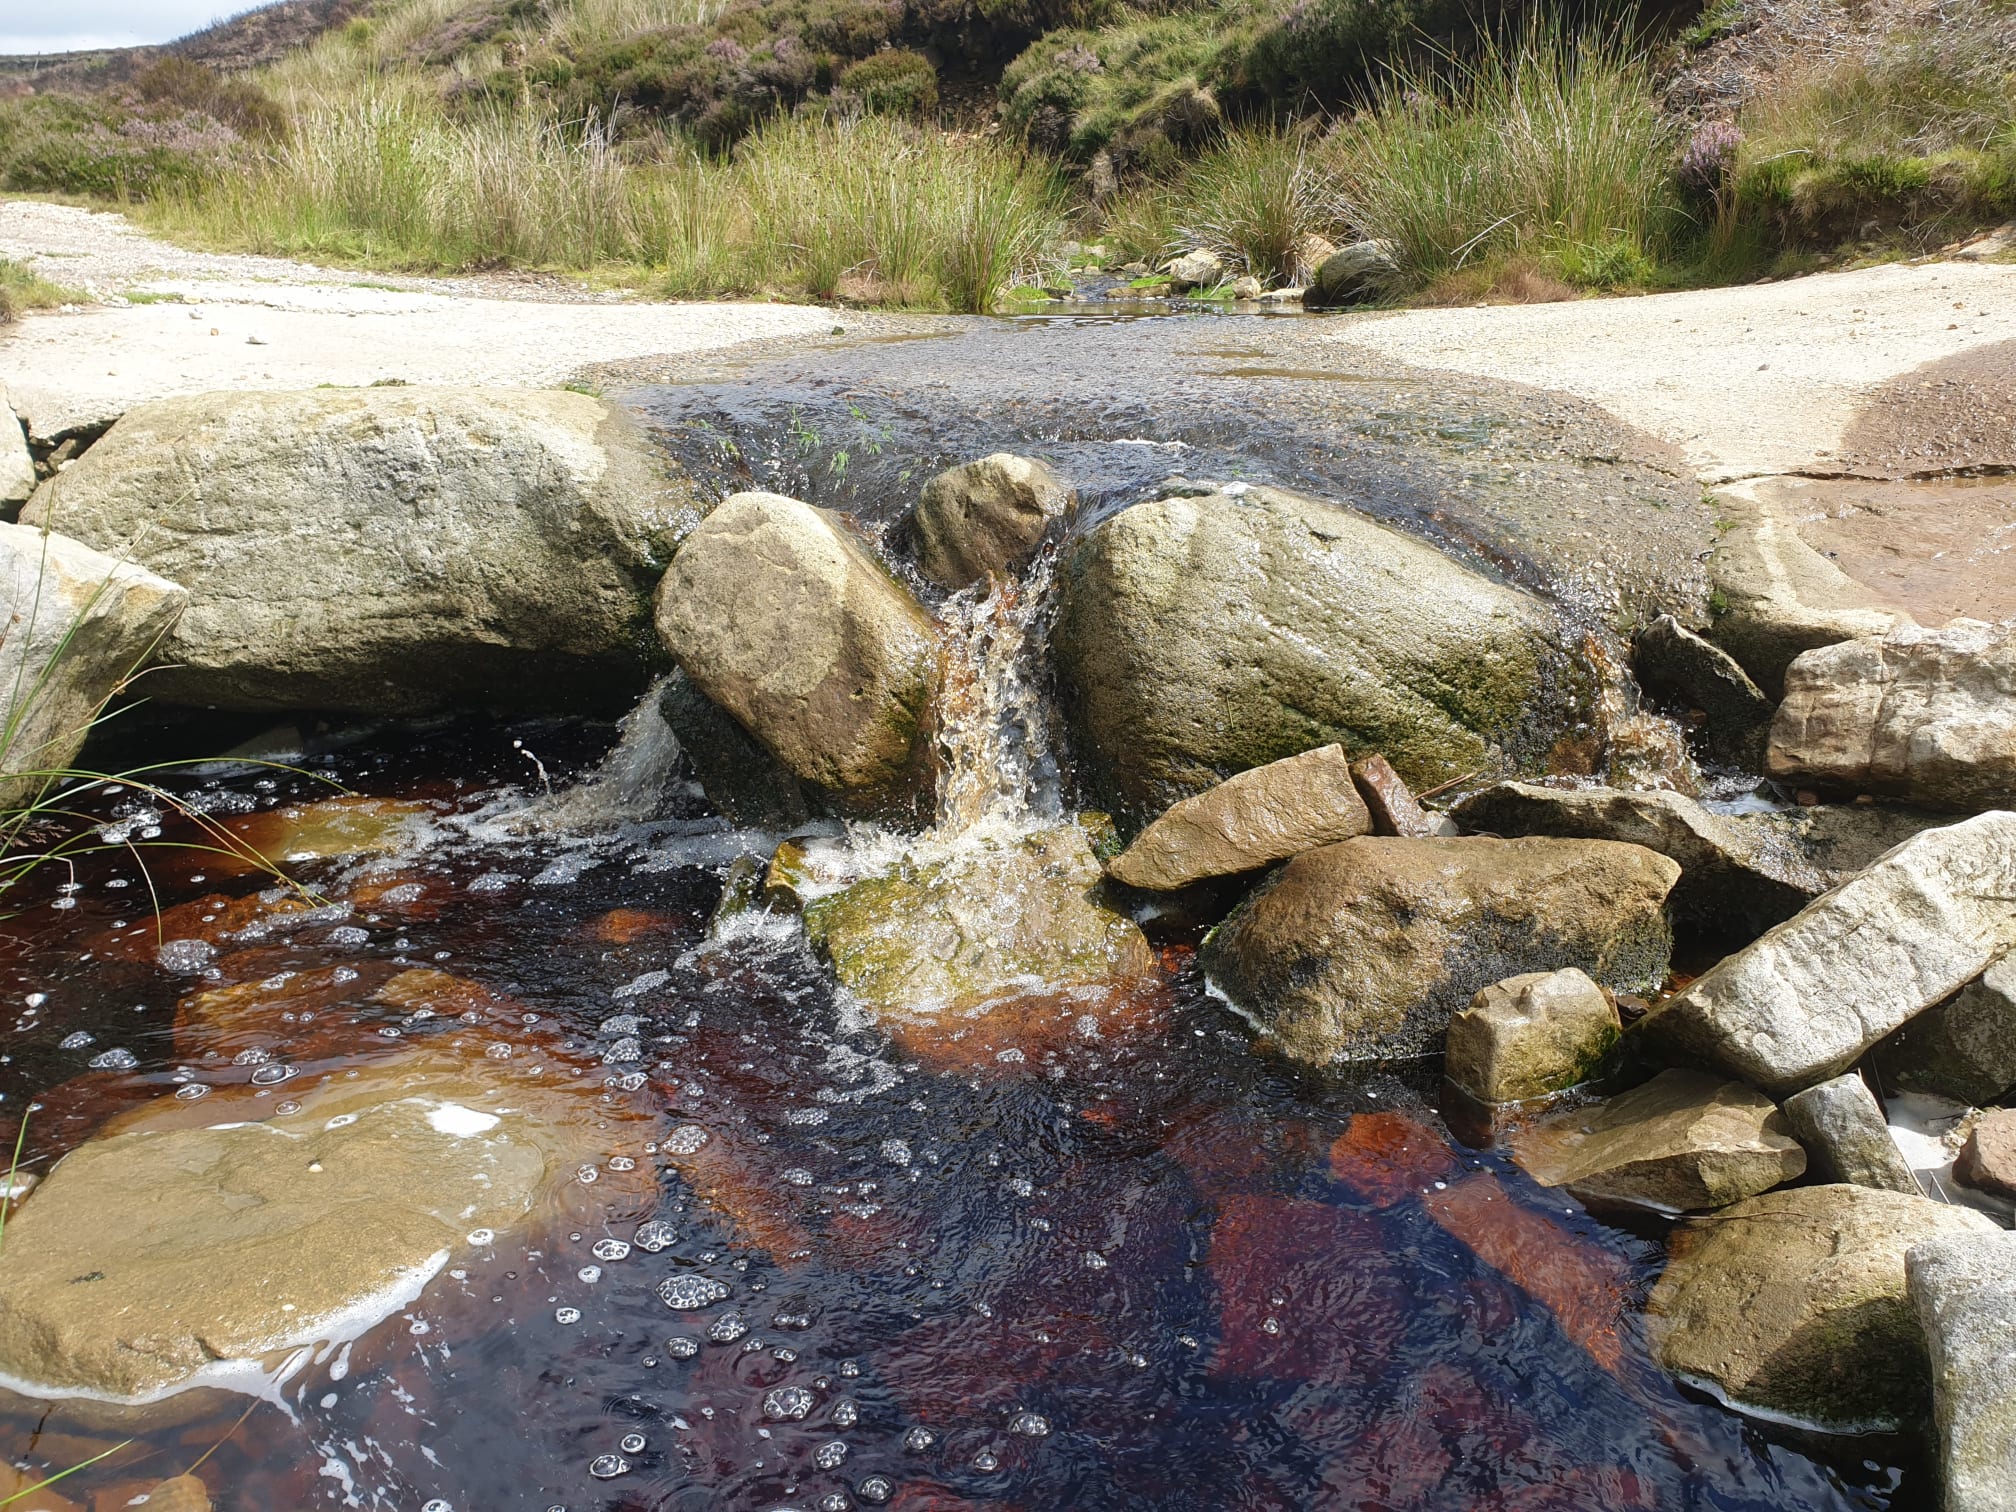
And a few little waterfalls.
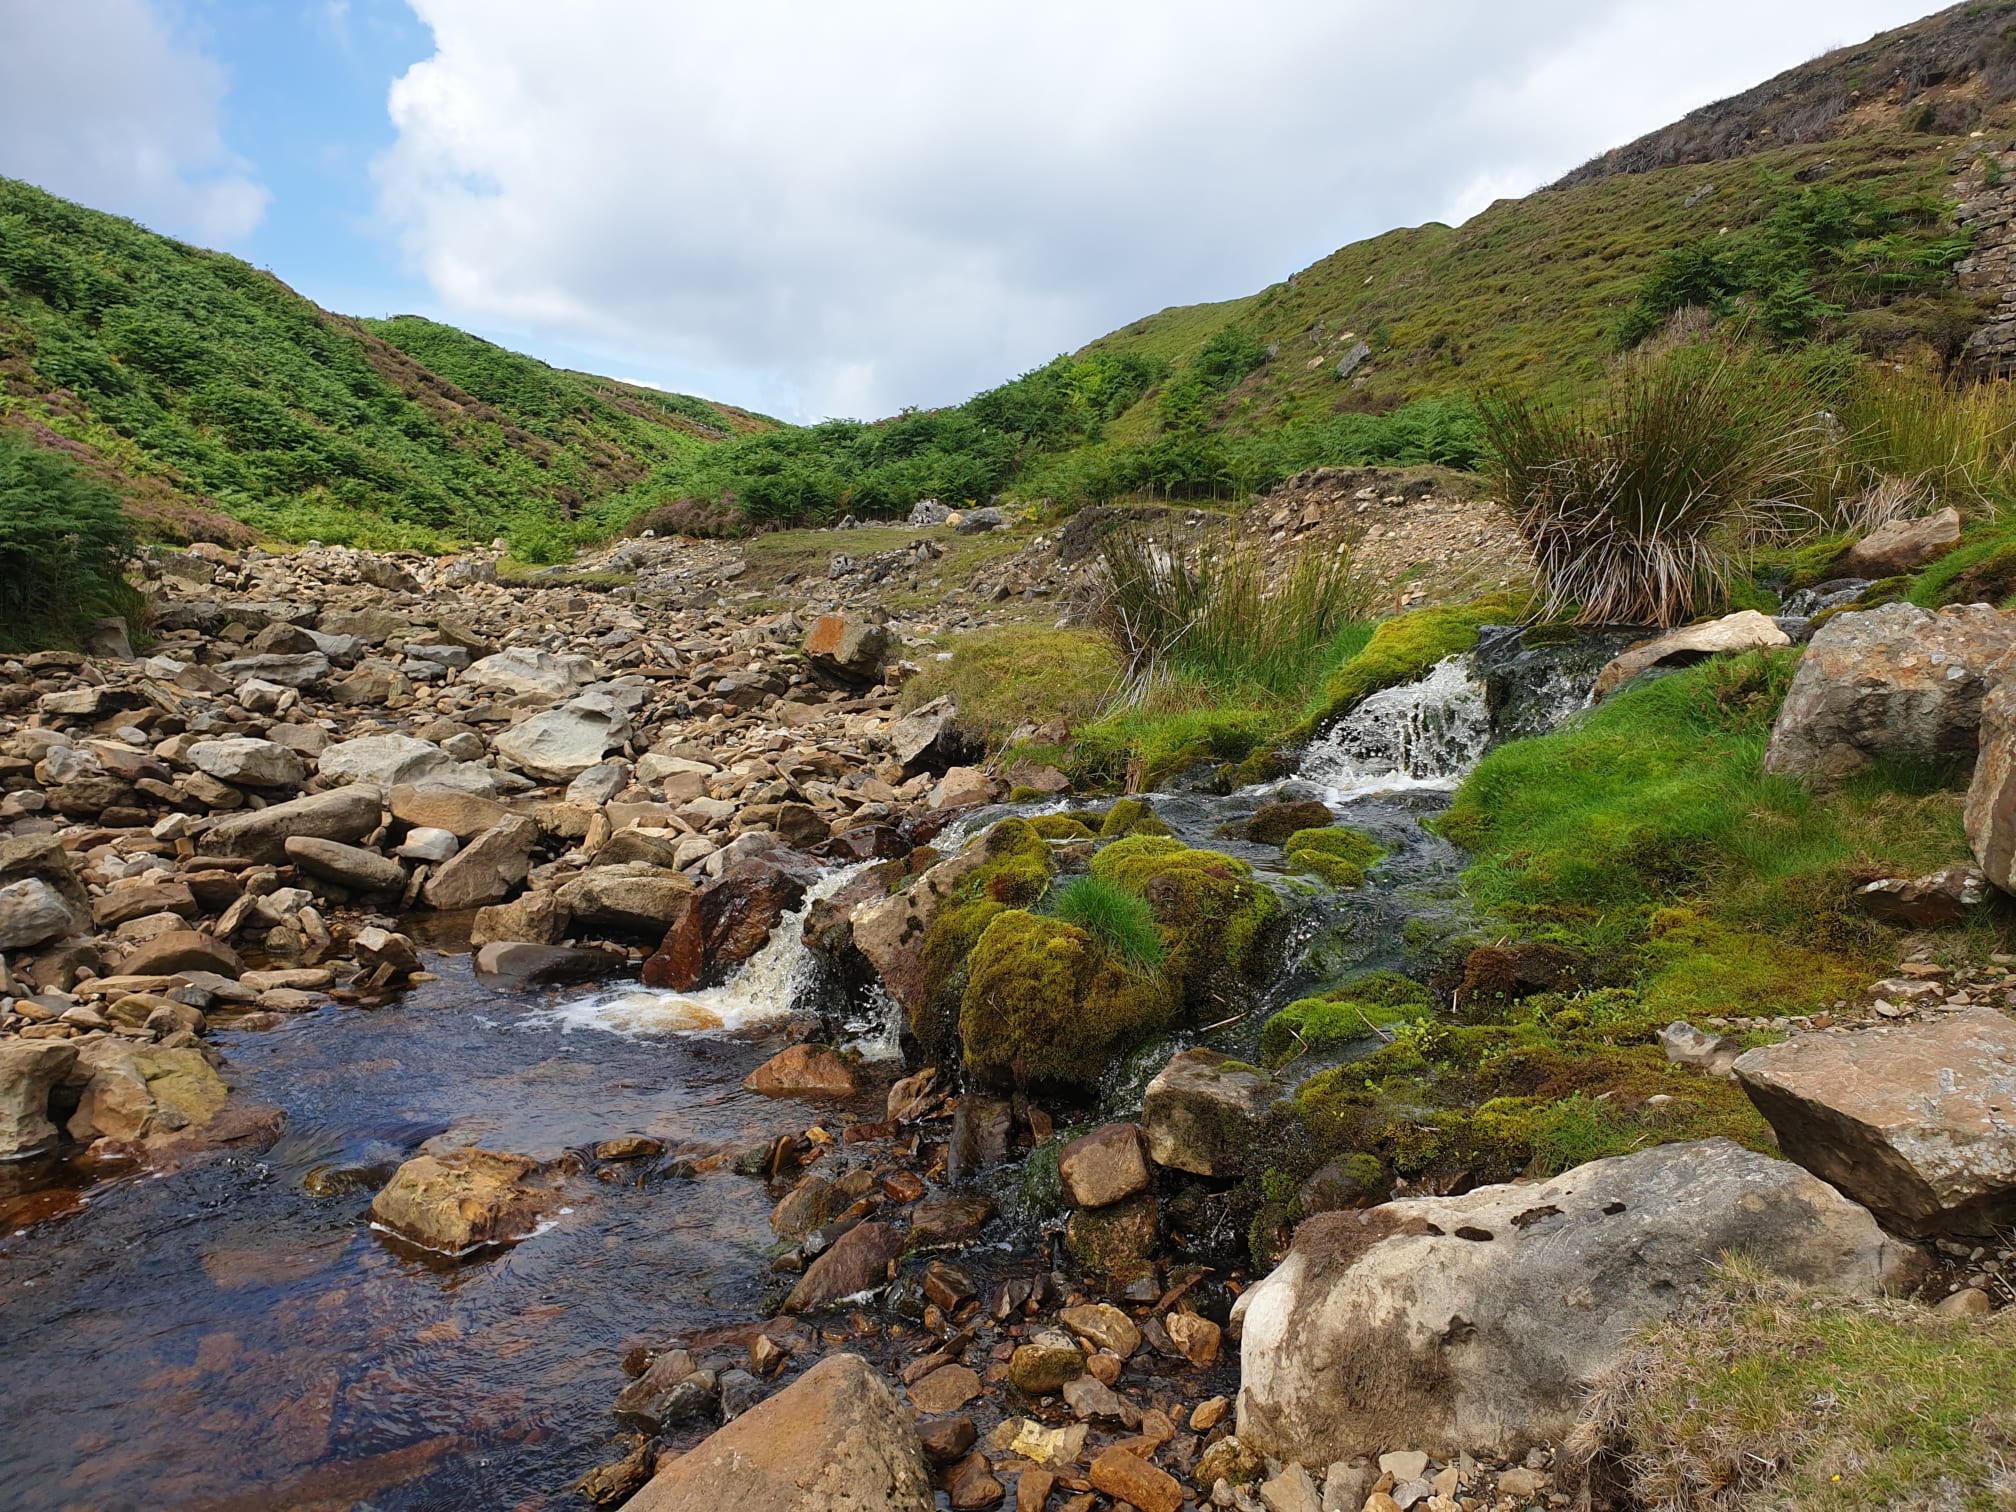
Hard Level Force.

One last look back at the mill ruins before the track turns north, leaving the beck and heading over the moors.
Starting to head a little uphill, this sheep was quite happy to pose for a pic, which, as you’ll see later wasn’t always the case.

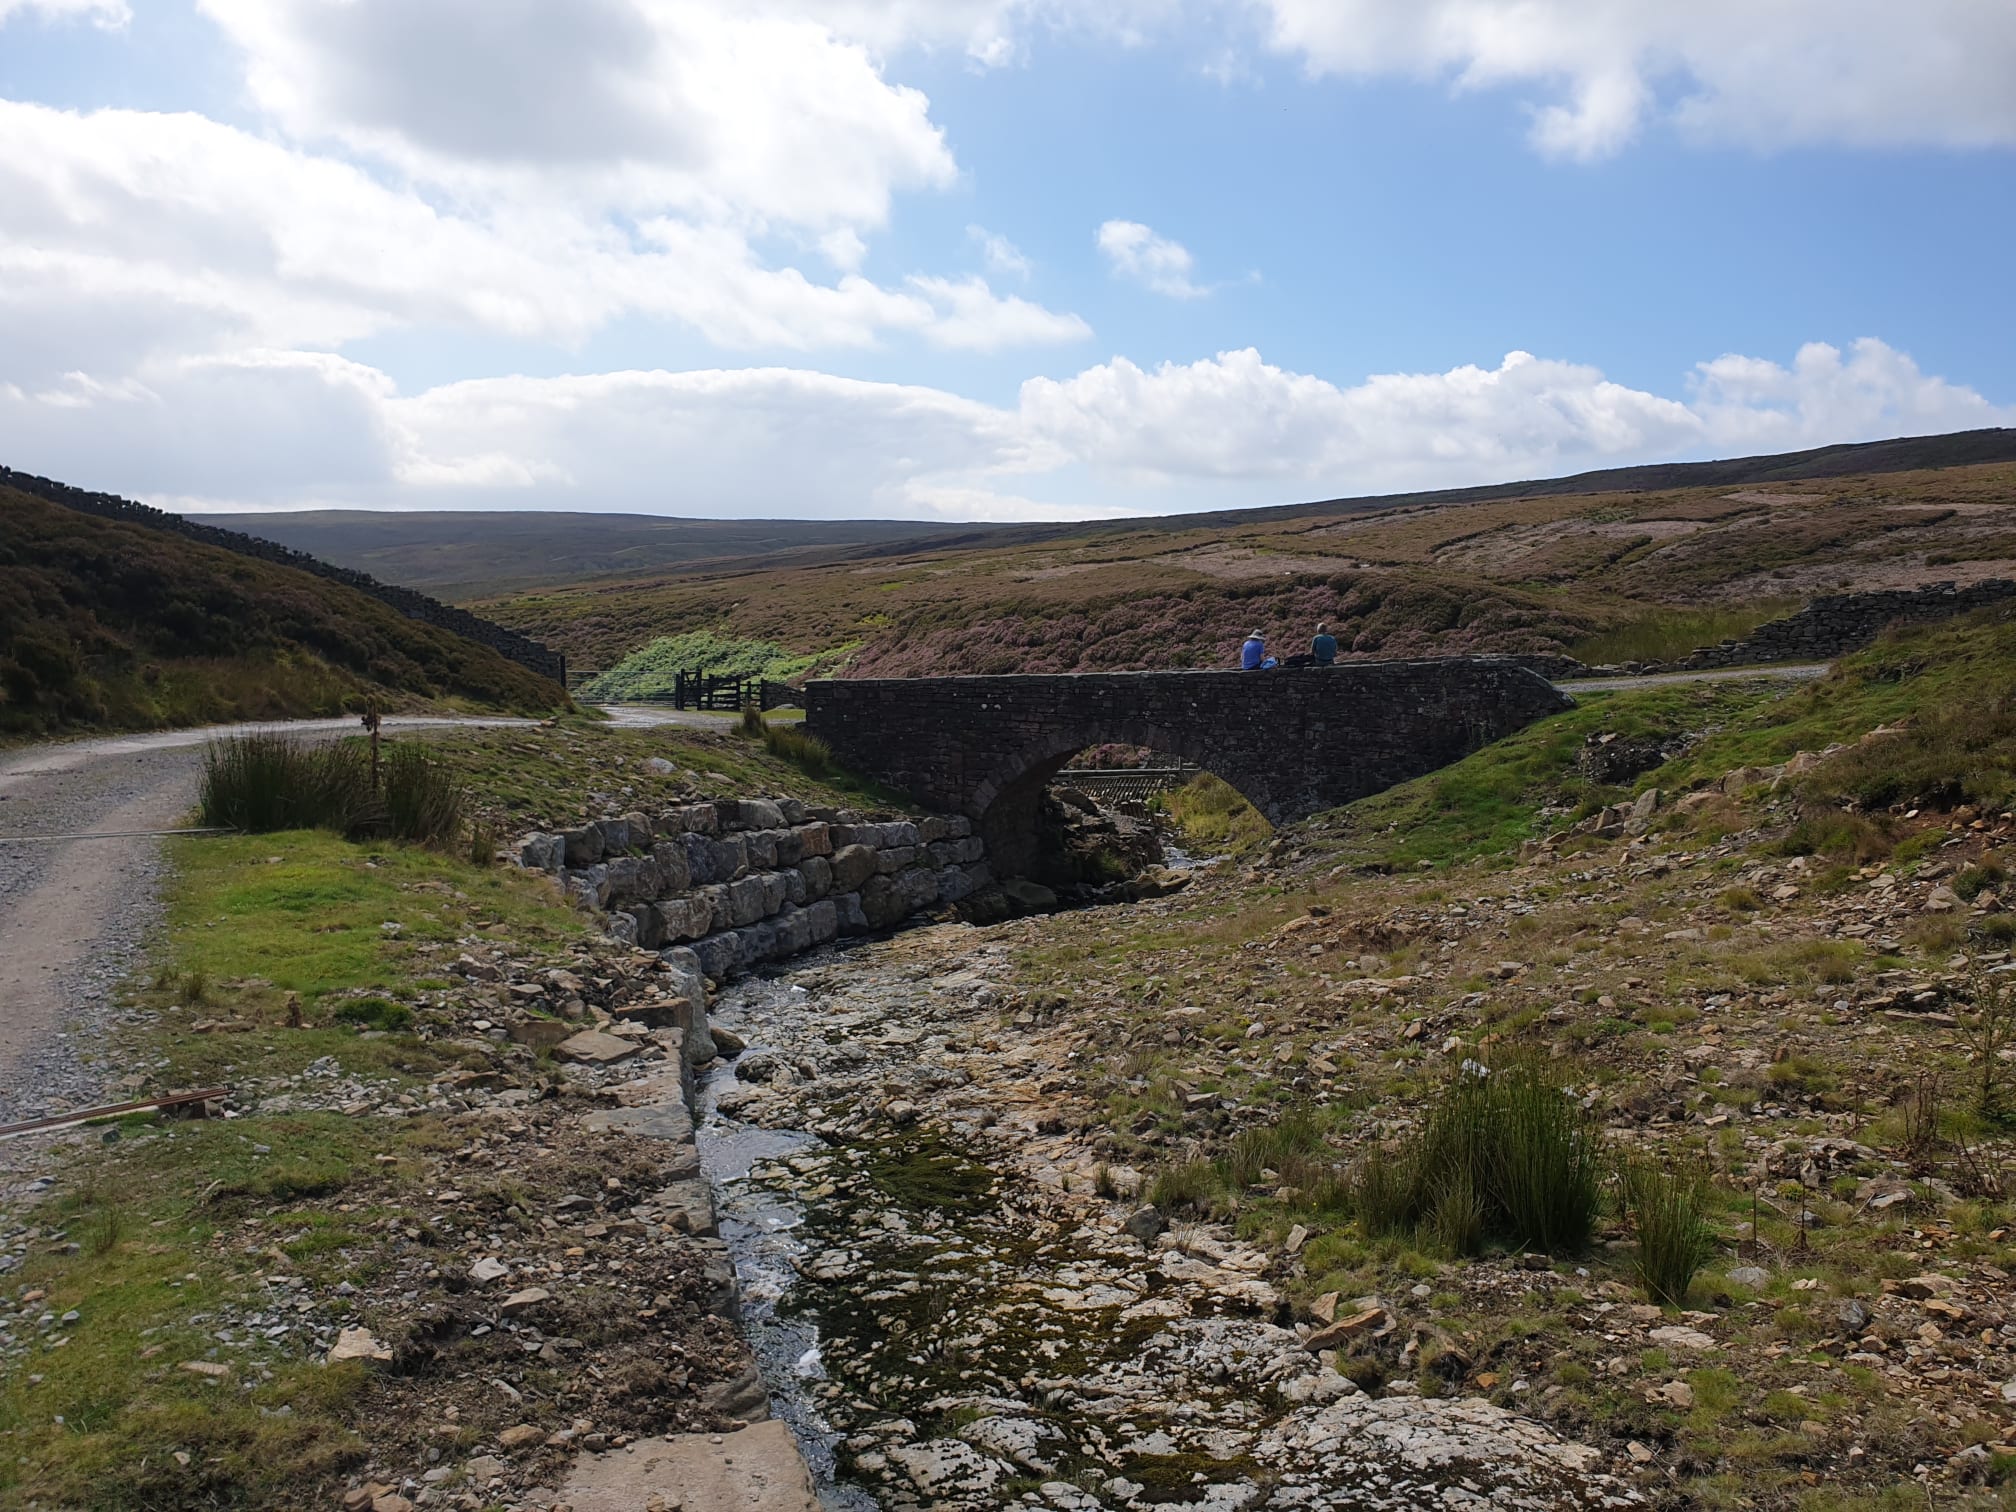
Follow the track northwest and at the Level House Bridge take the right hand track. This pic below looks back at the route, the gate on the left is where you approach the bridge.
More gravel track and ruins as the path heads uphill alongside Flincher Gille.
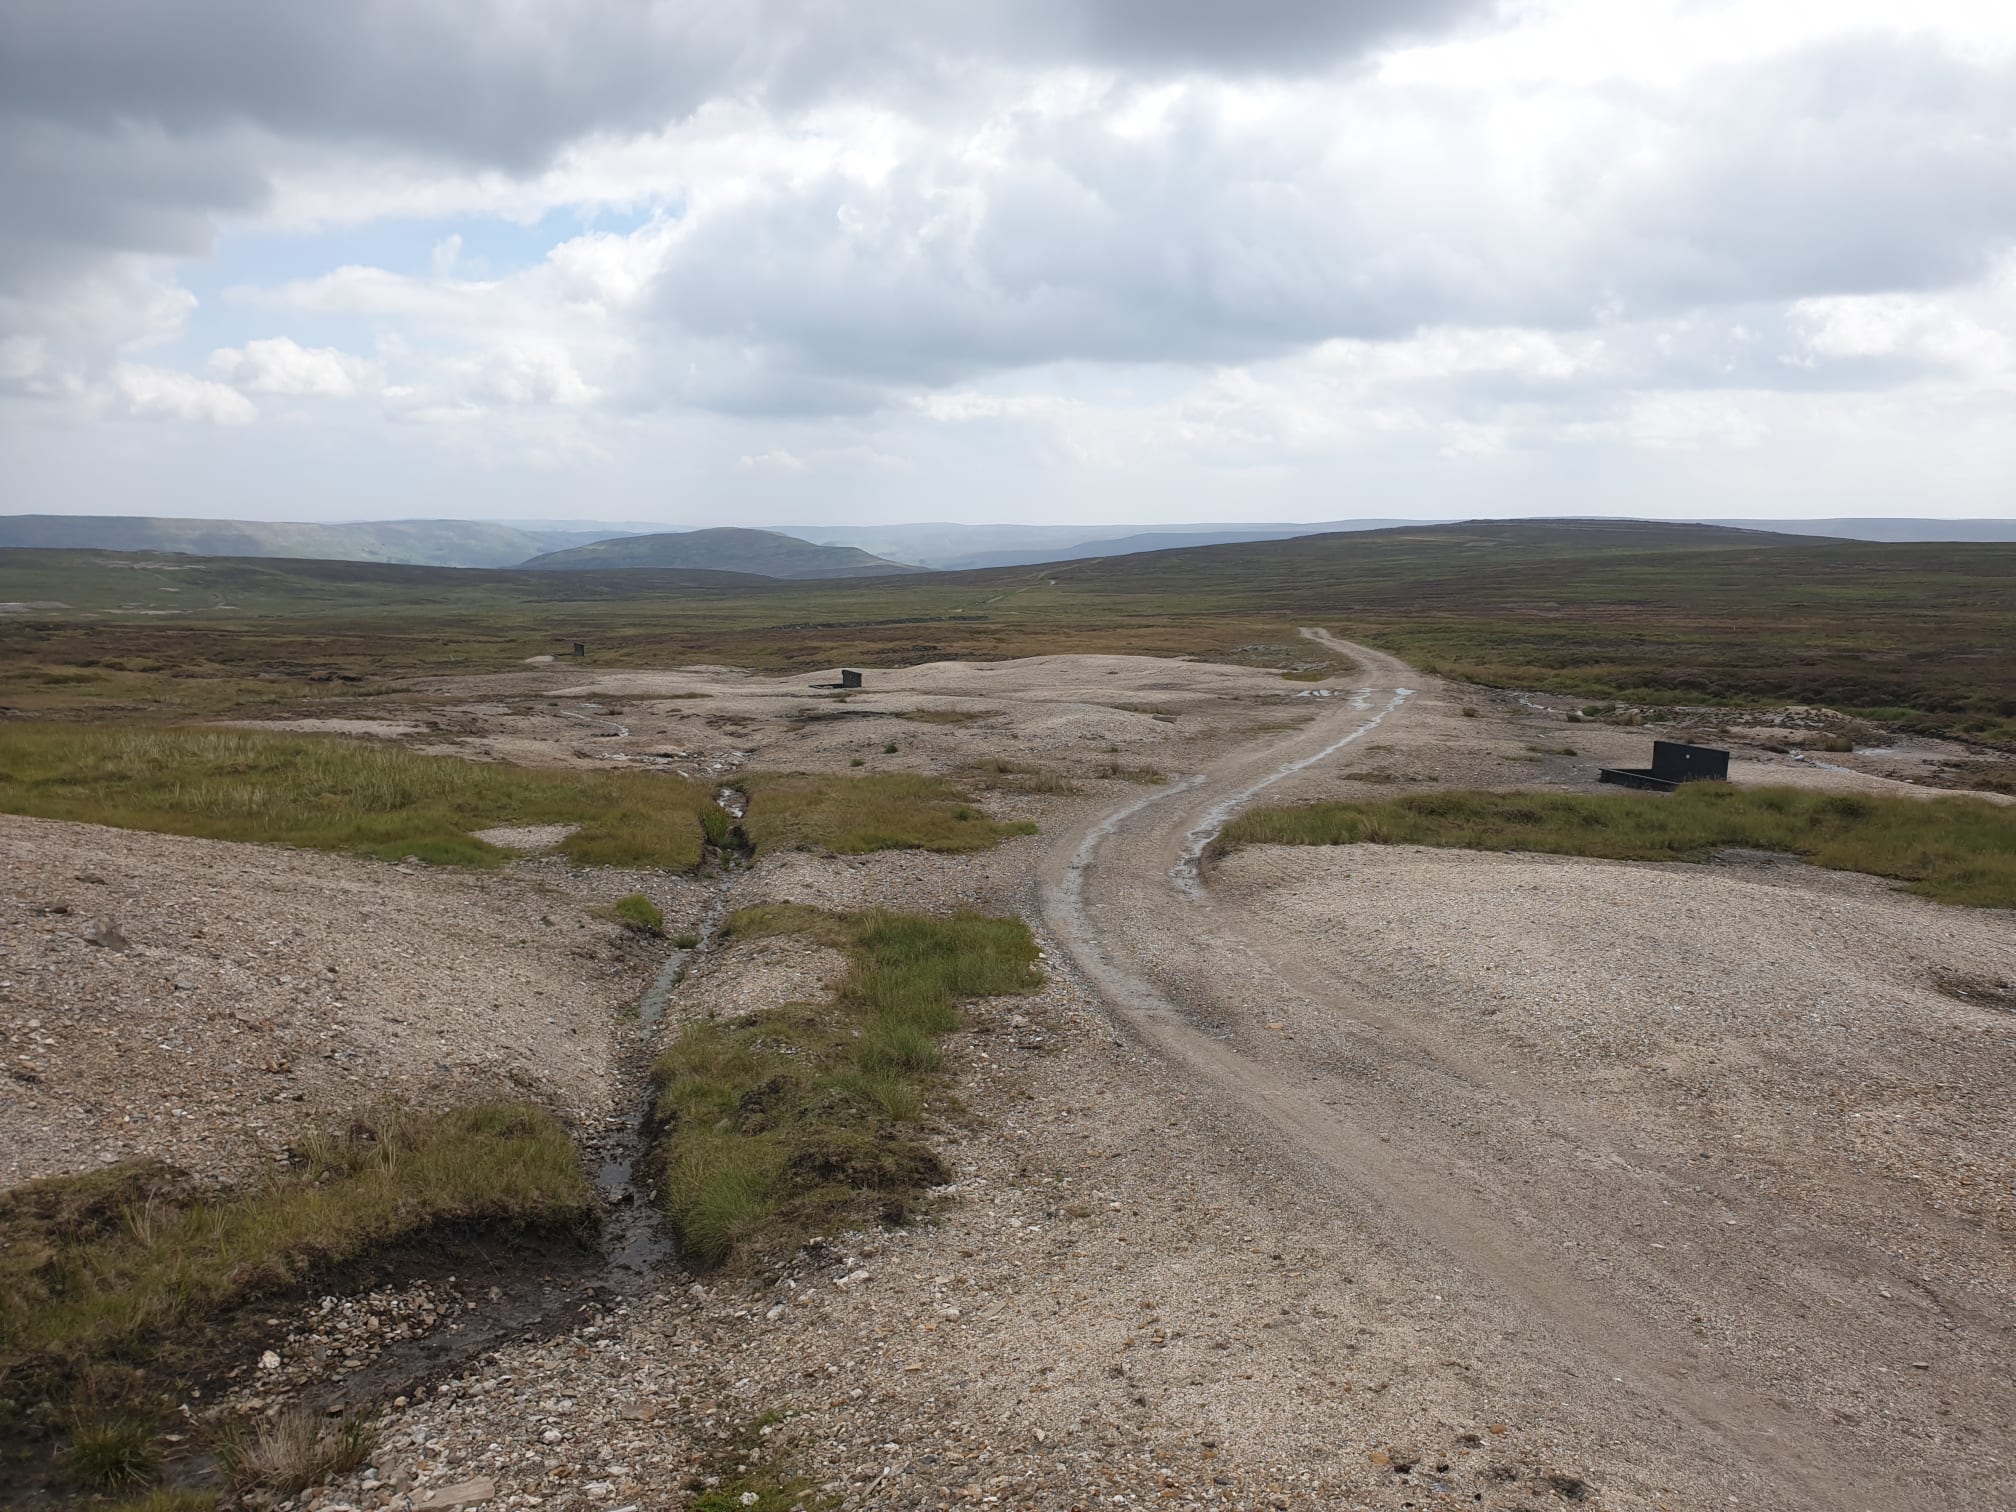
There are also a couple of fords on this part of the route, during this hike they were very easy to cross.
More mine working tunnels, this one you could easily walk down into, if you’re brave. We always keep the dogs on a lead on this route due to the tunnels here and there.


Just after this second ford, past the drystone wall, is where the track turns right and heads east to the tips.


#9
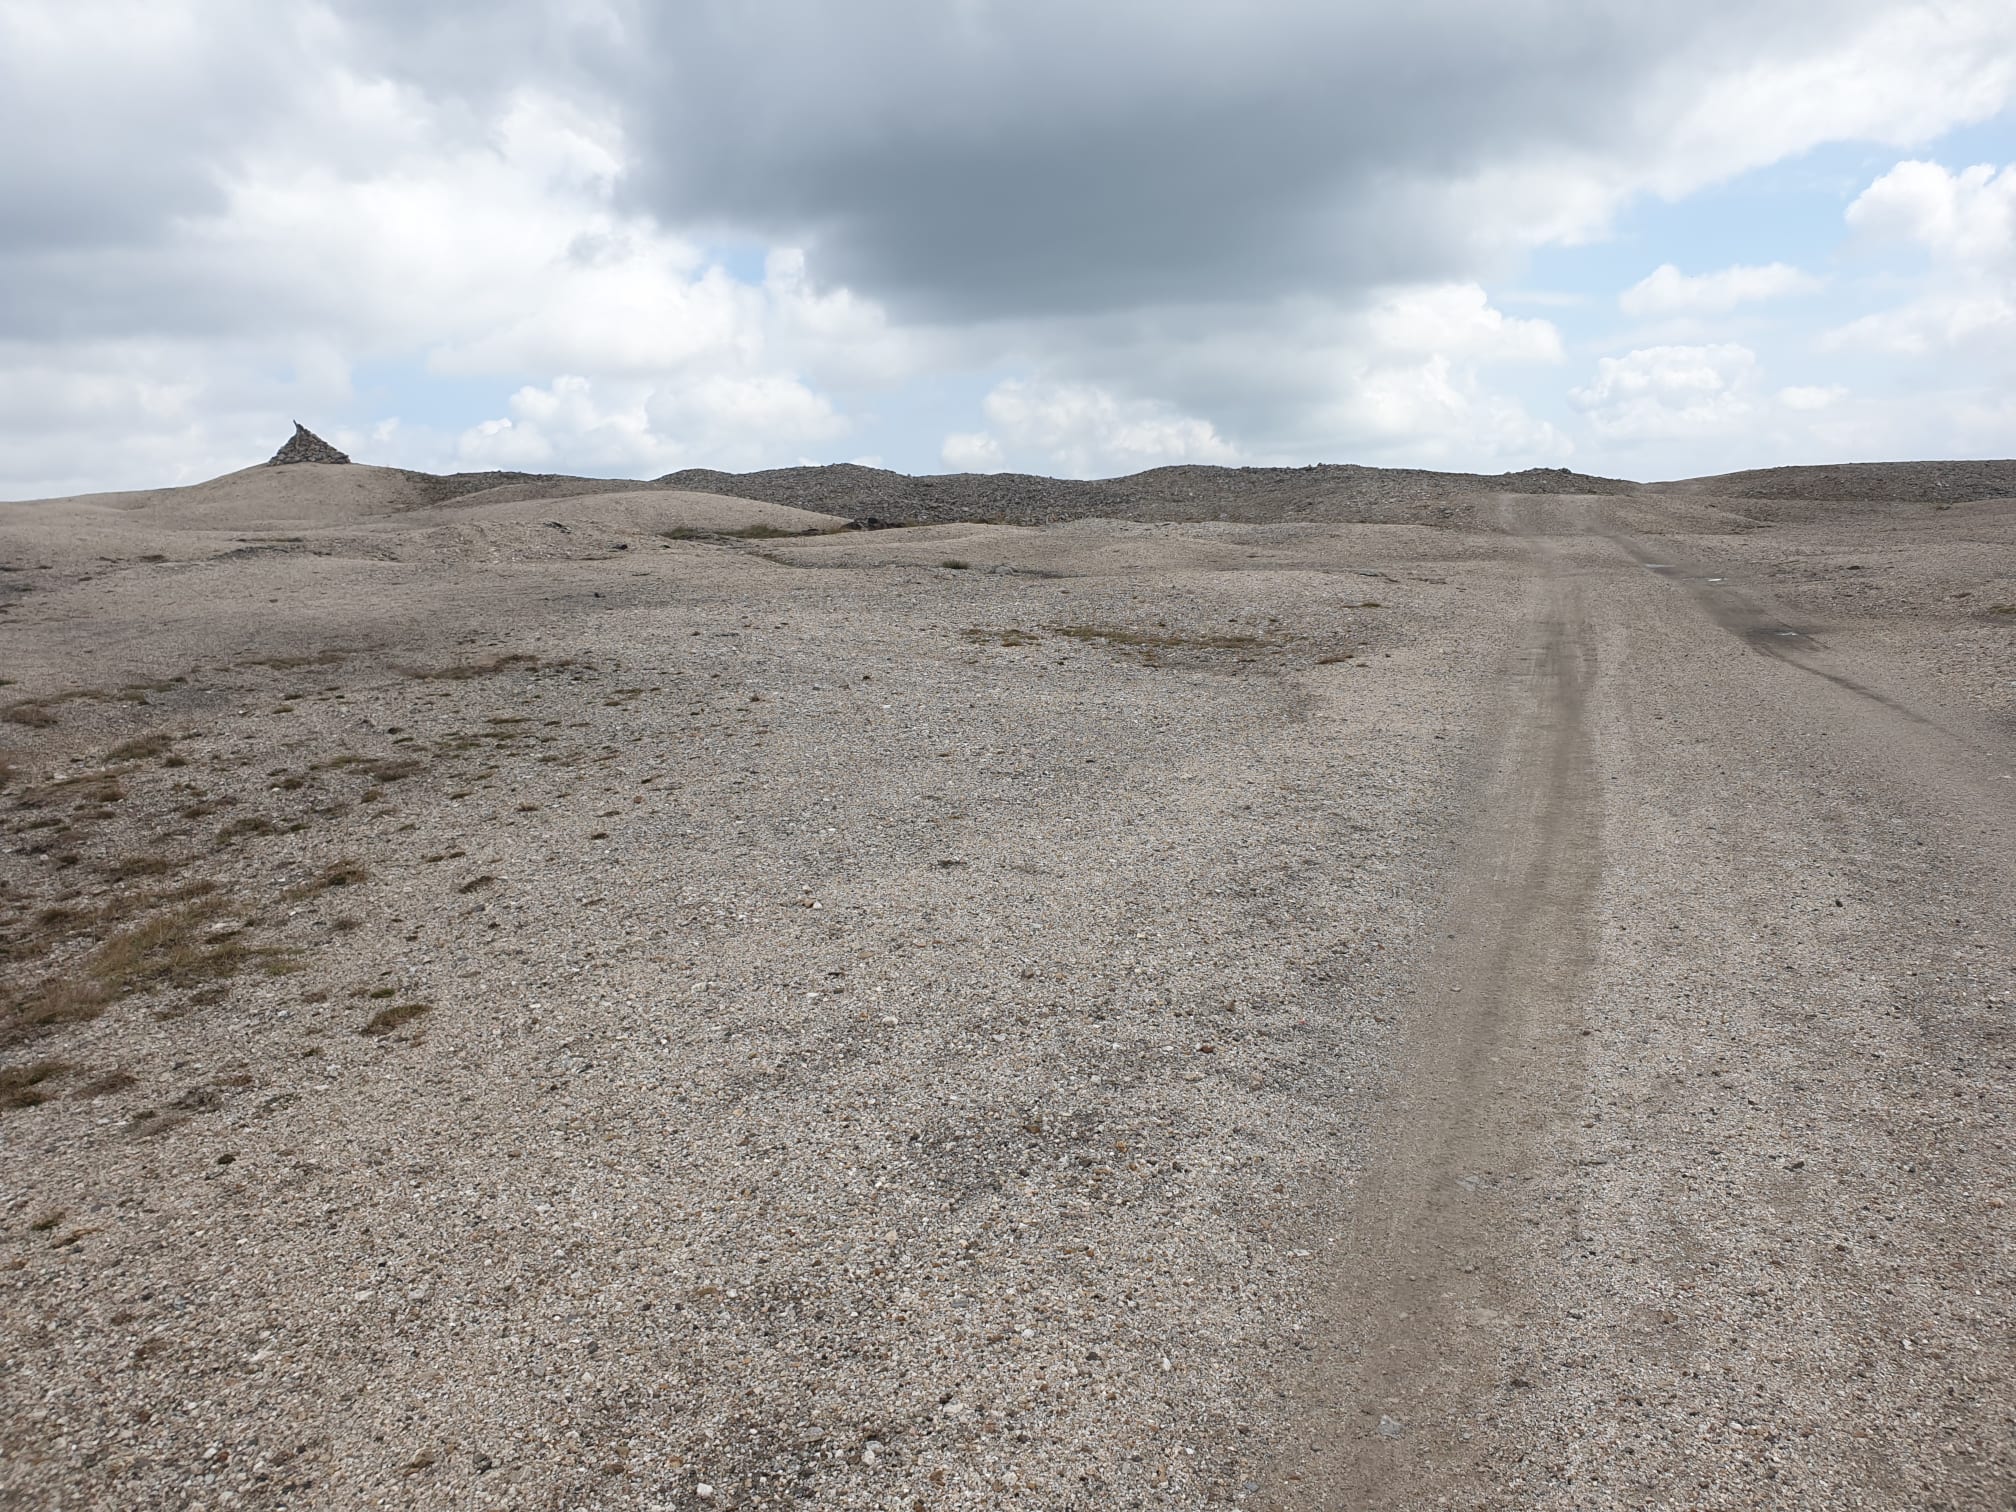
The moors here are potmarked by lots of small tips.

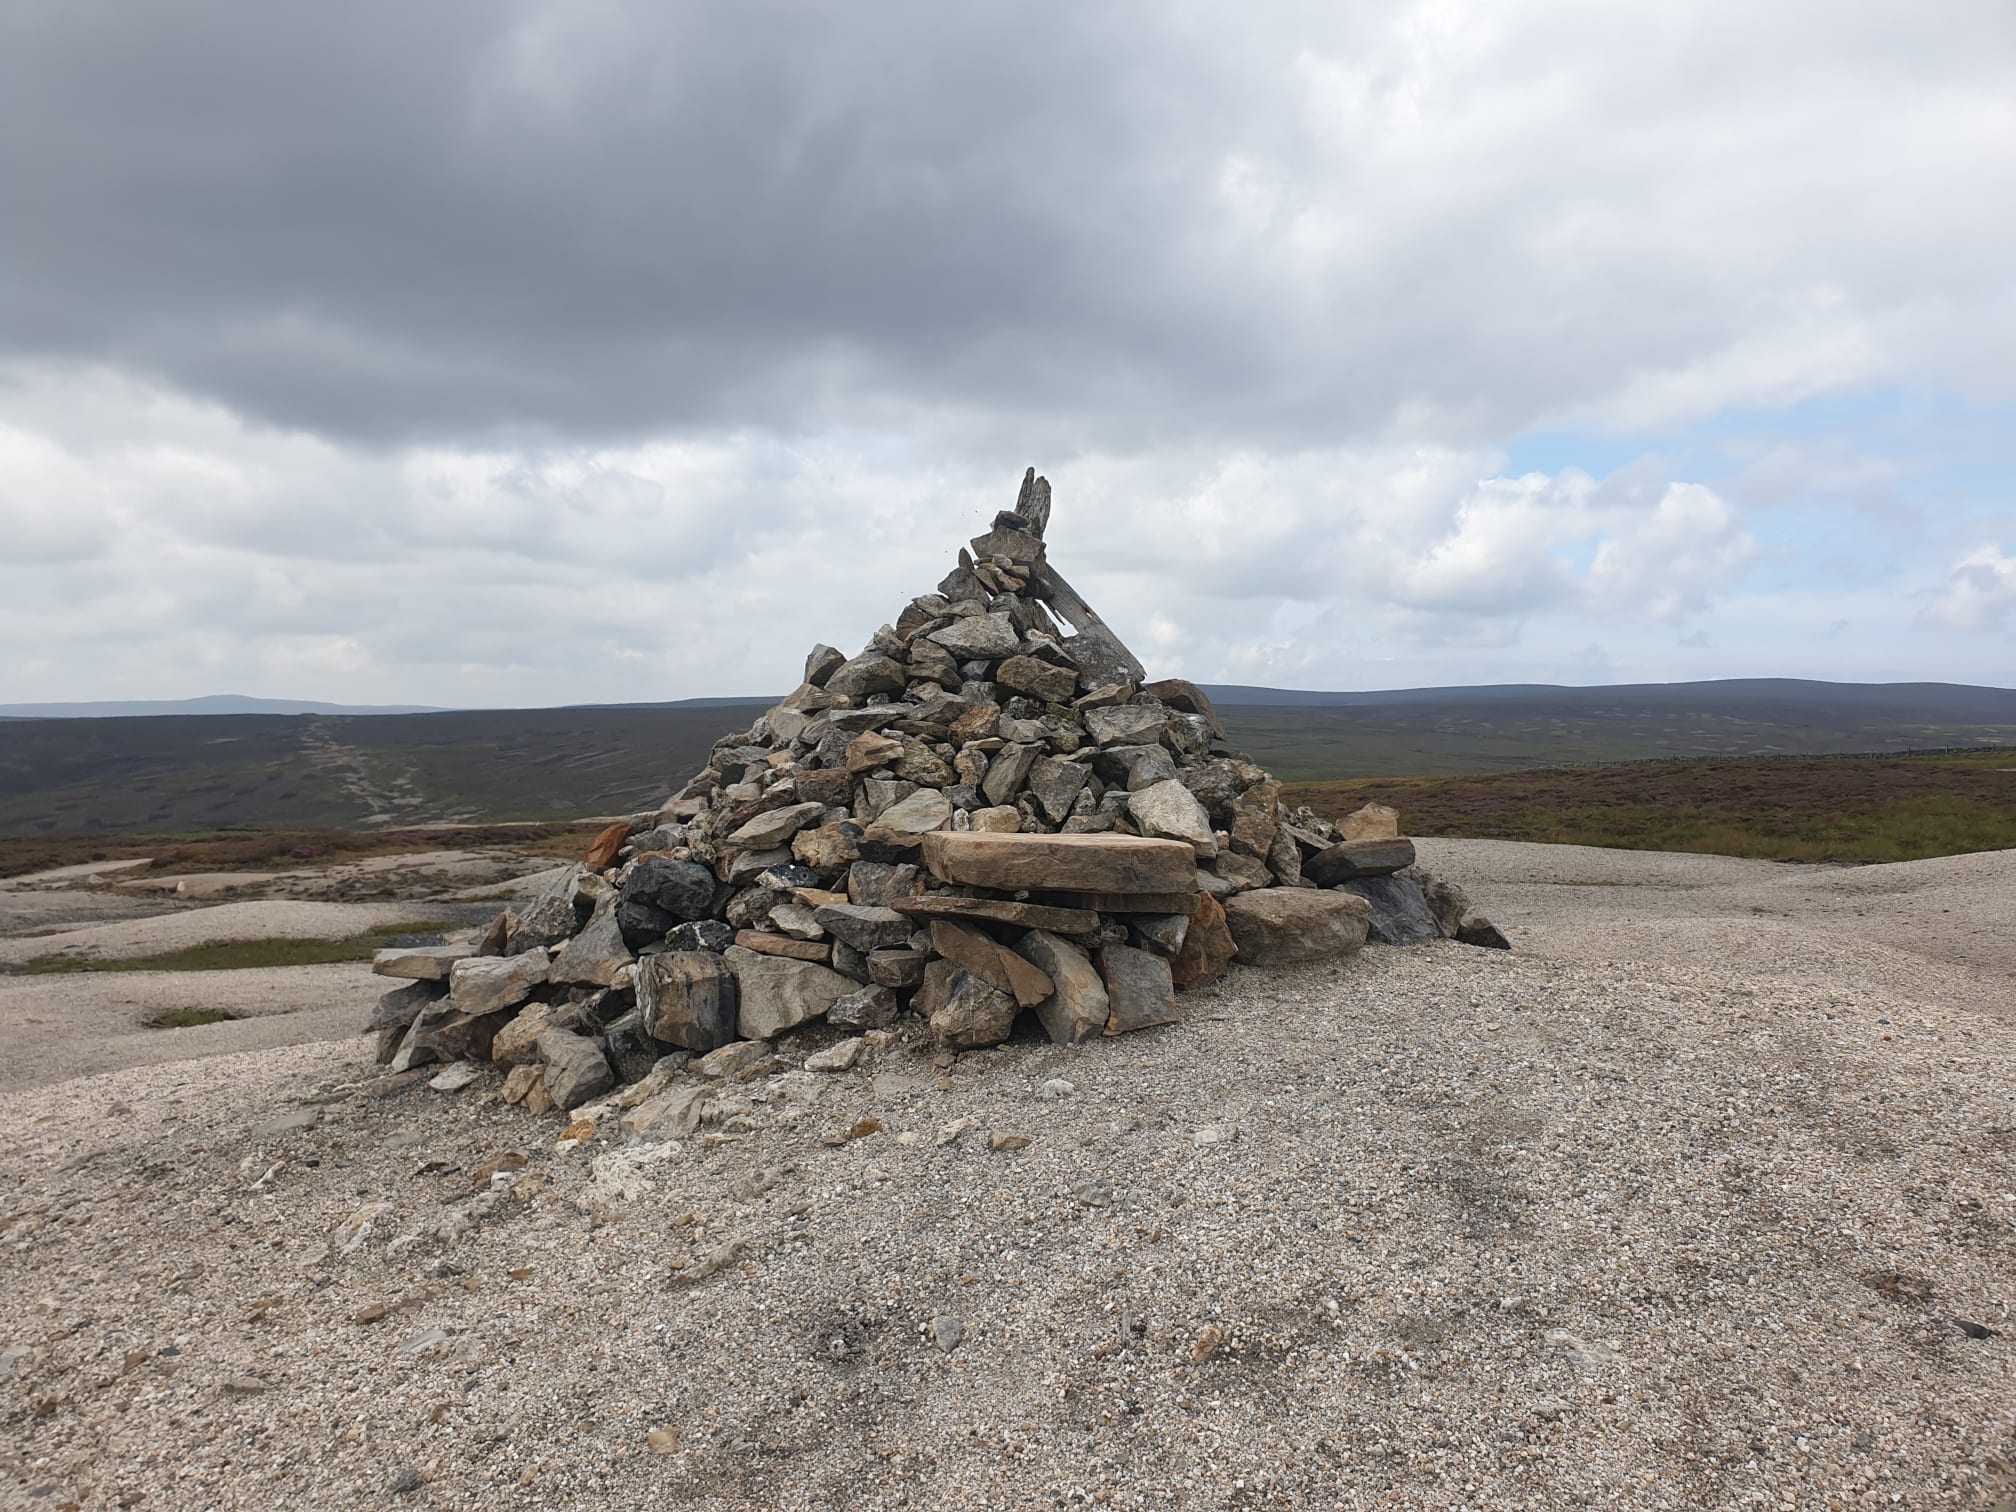
A stone cairn near Great Pinseat.
This pic shows the next part of the track, now heading southeast, with Calver Hill in the background. A gravel track through moorland and past grouse butts.

#9
Continue following the track in a pretty much straight line southeast towards Calver Hill, but this route won’t be going that far.

At this point the walk turned into something from Jurassic Park – careful where your step!


Unlike the earlier sheep that happily posed for a pic, this one was a bit “sheepish”.

And these two didn’t care at all.

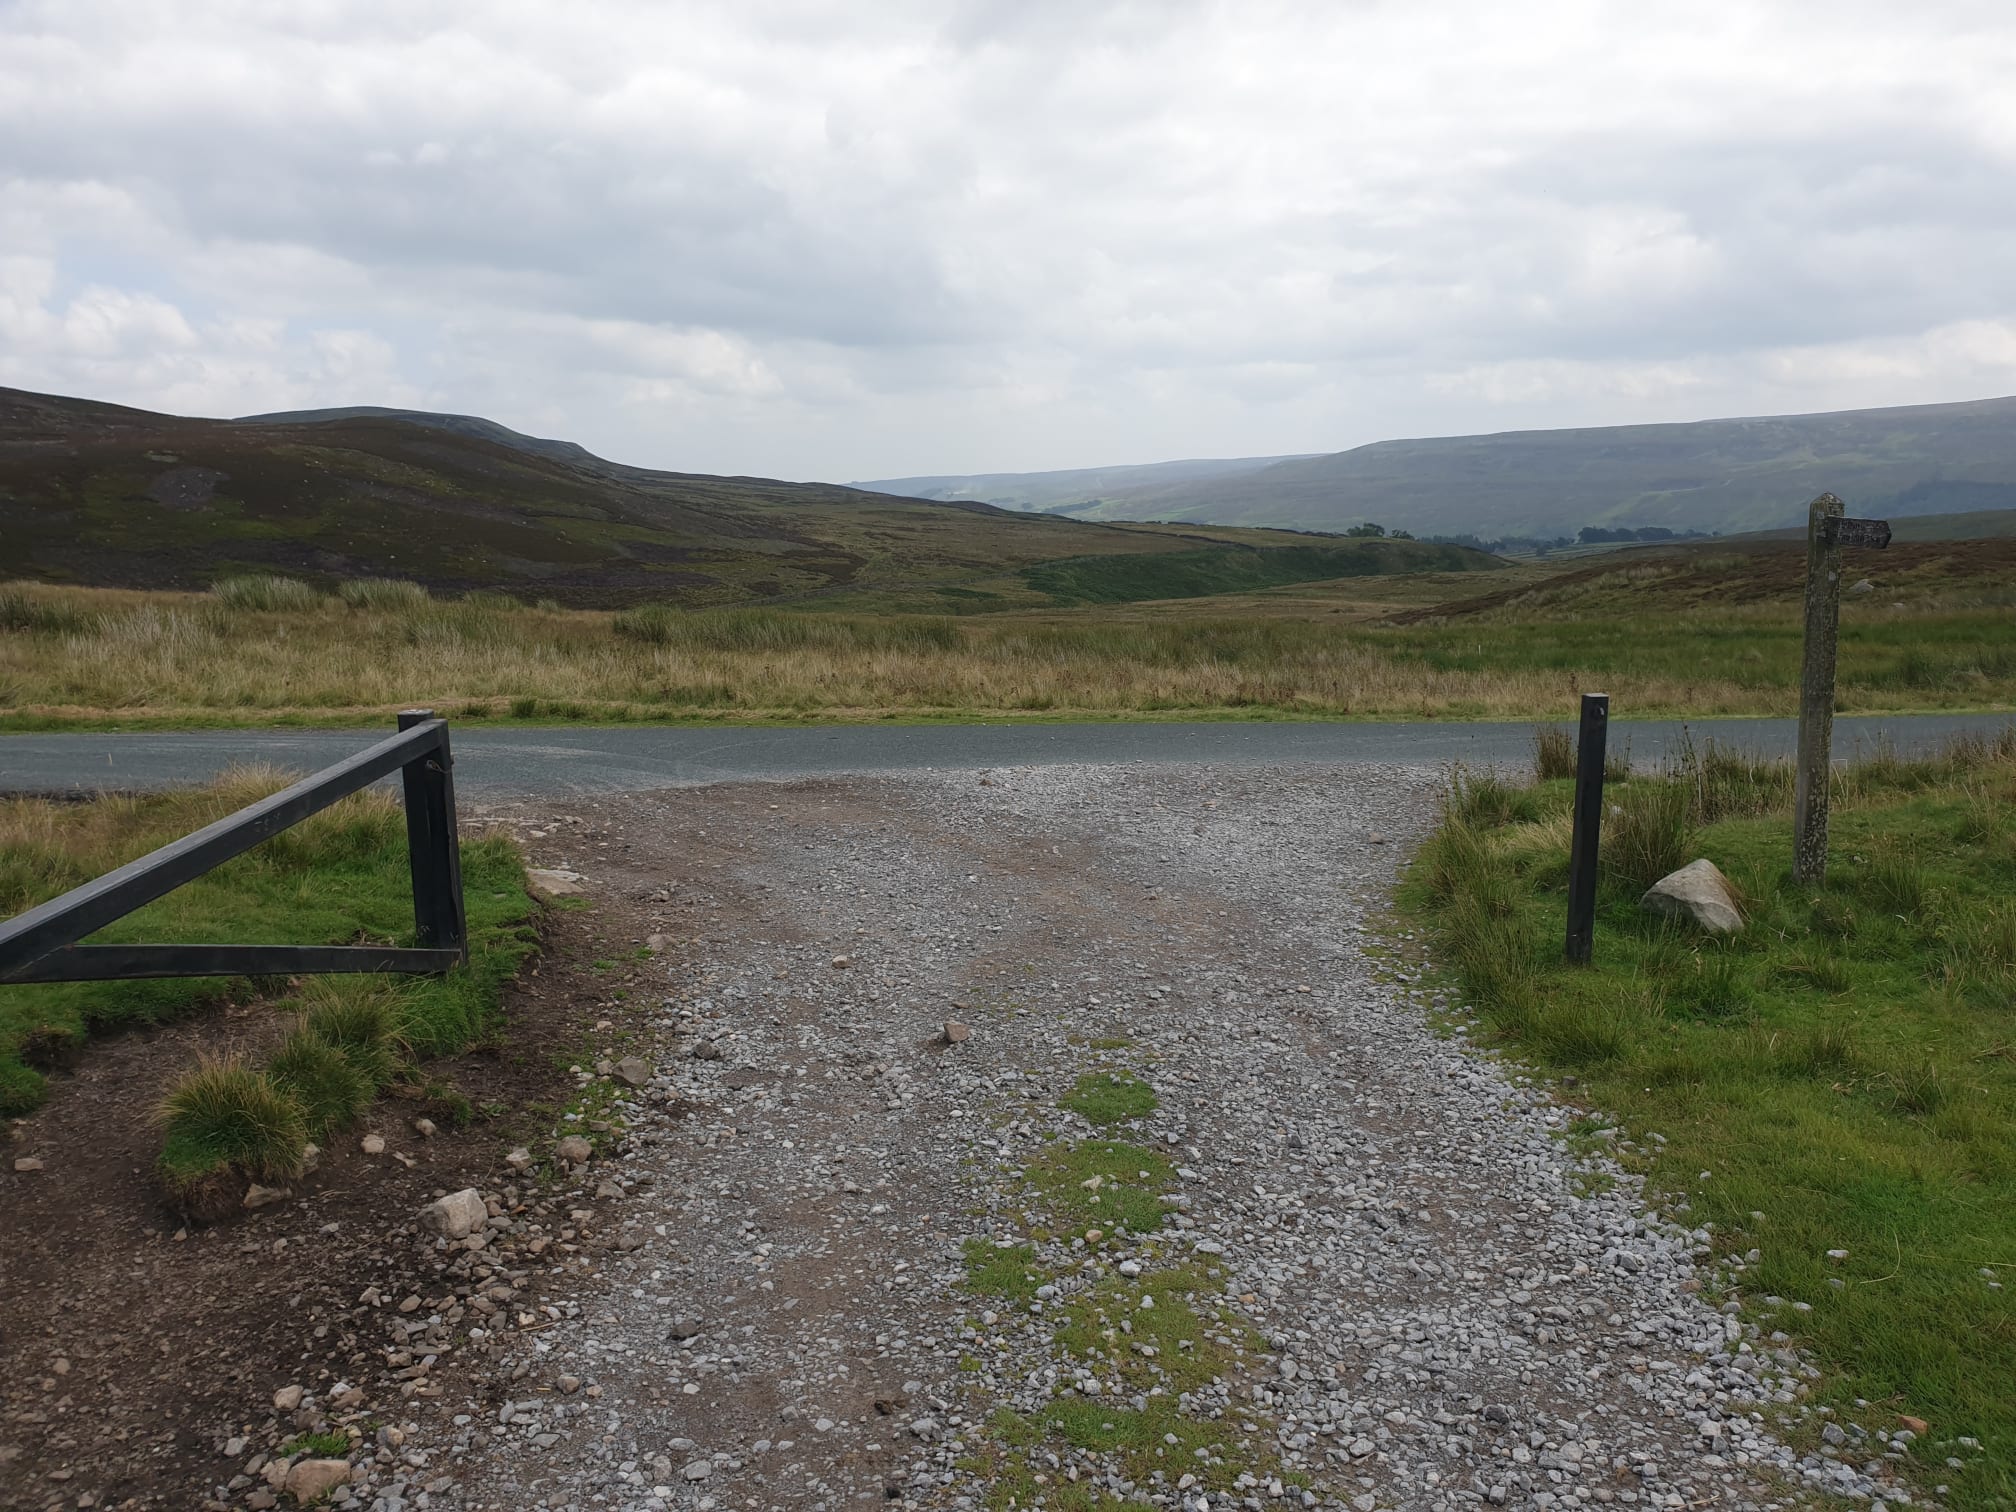
Finally the track gets to a tarmacked road. Here the route turns right, following the road back to Surrender Bridge.
Almost as soon as you turn right the car park is visible in the distance. The small white dot in the middle of this pic is Tiggy.
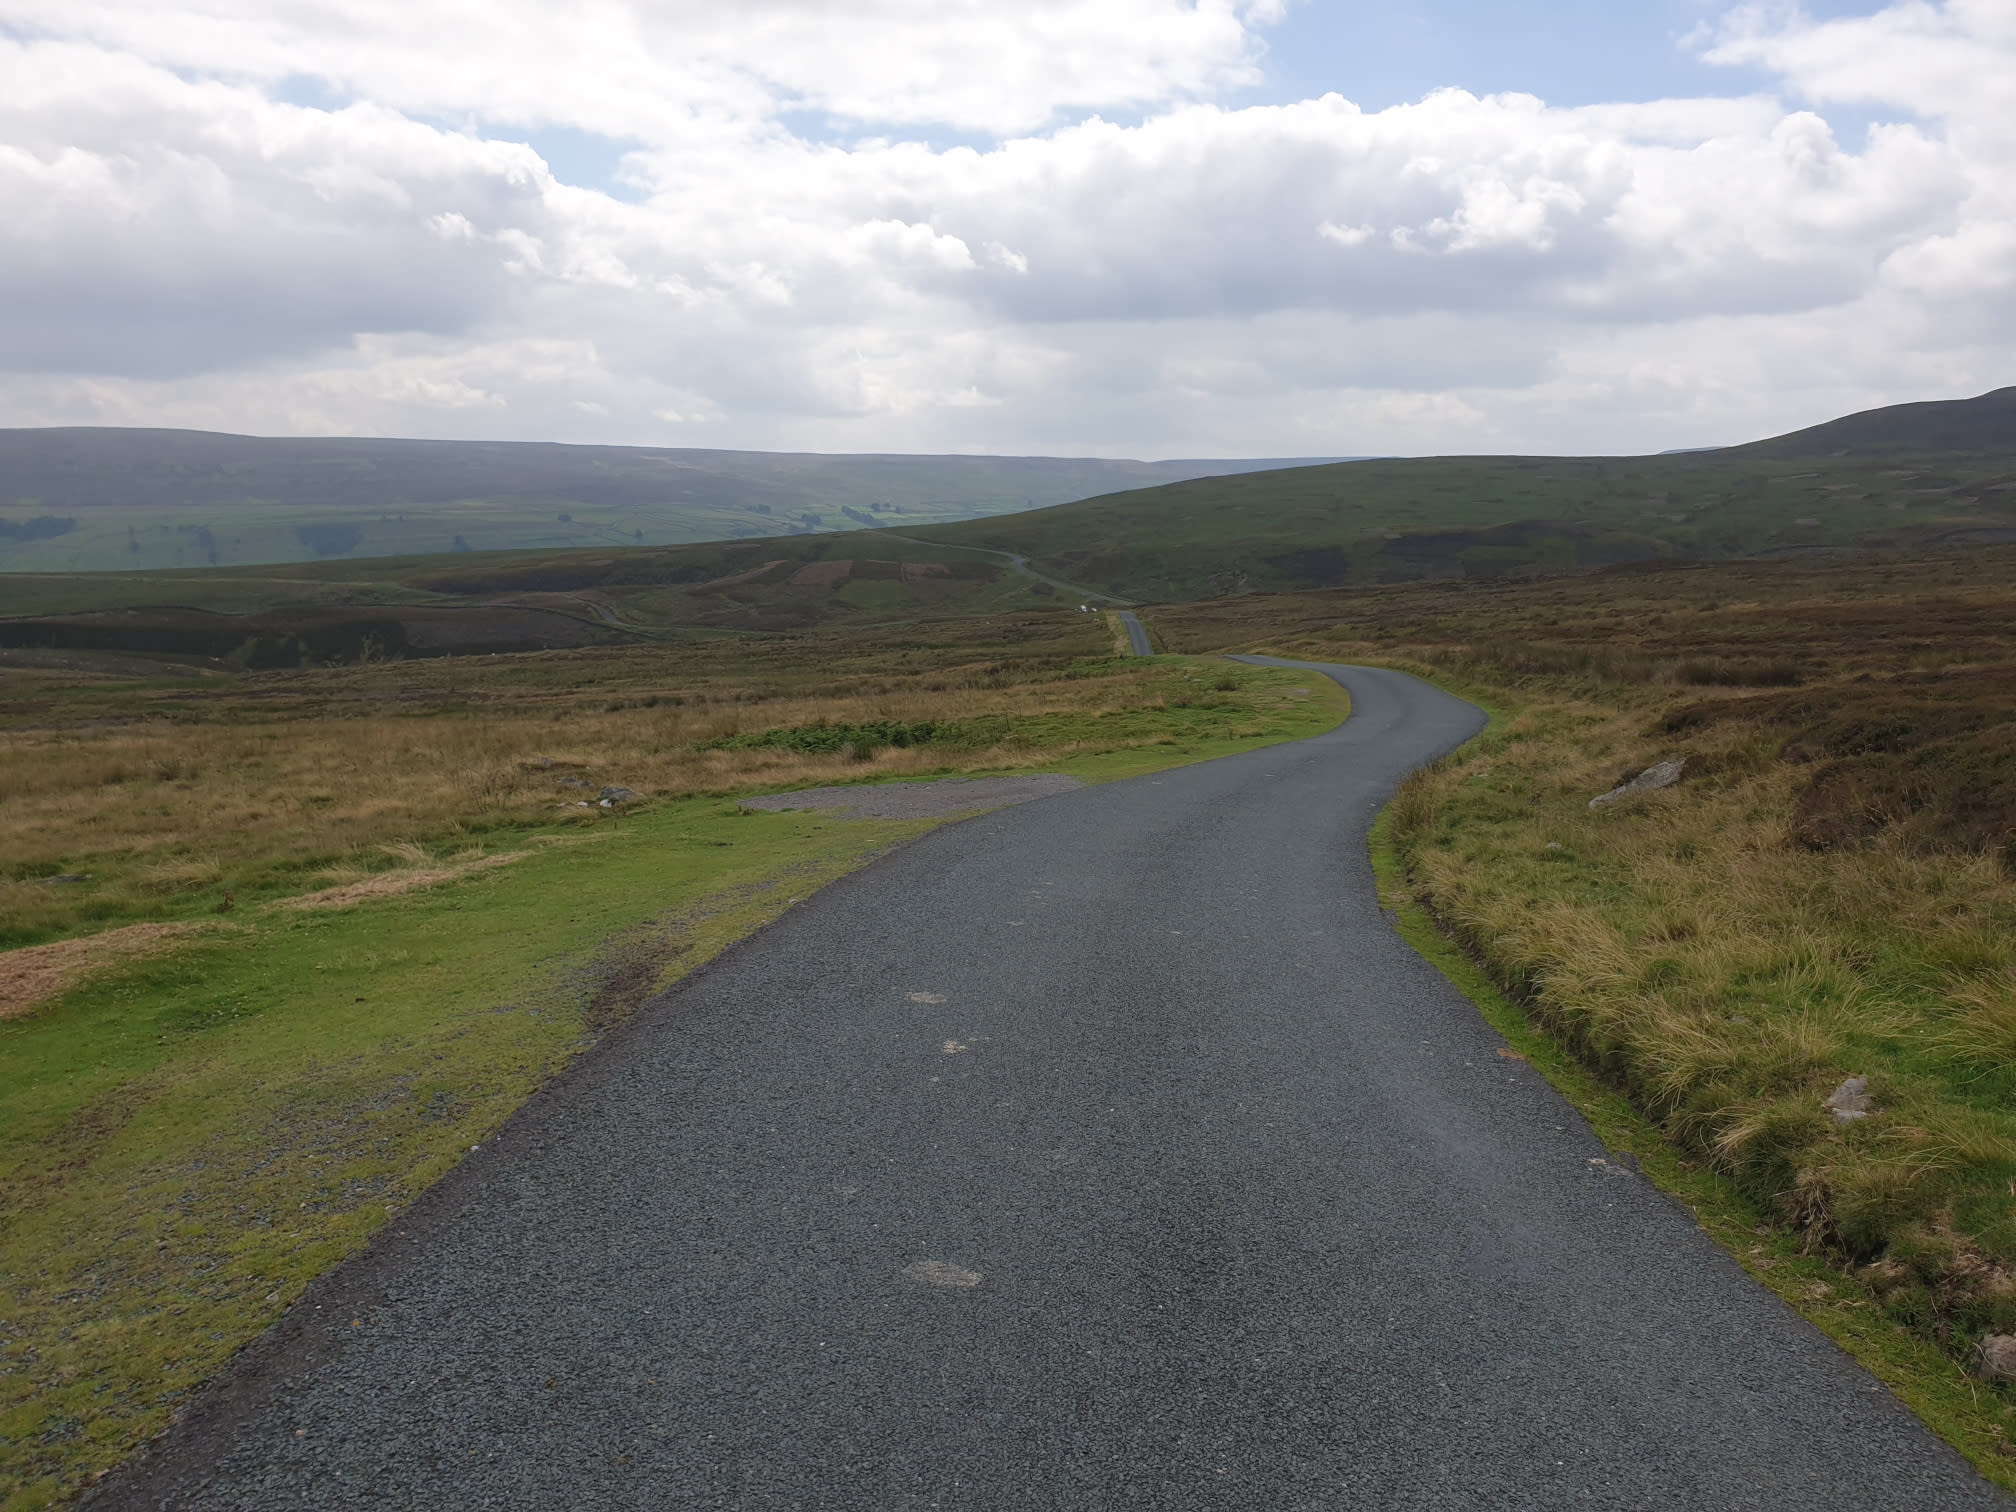
One last look to the right at the hill the route circulates.

Following the road back to Surrender Bridge it’d be rude not to visit the Surrender Mine ruins.


One final sheep pic, “What ewe looking at?”.
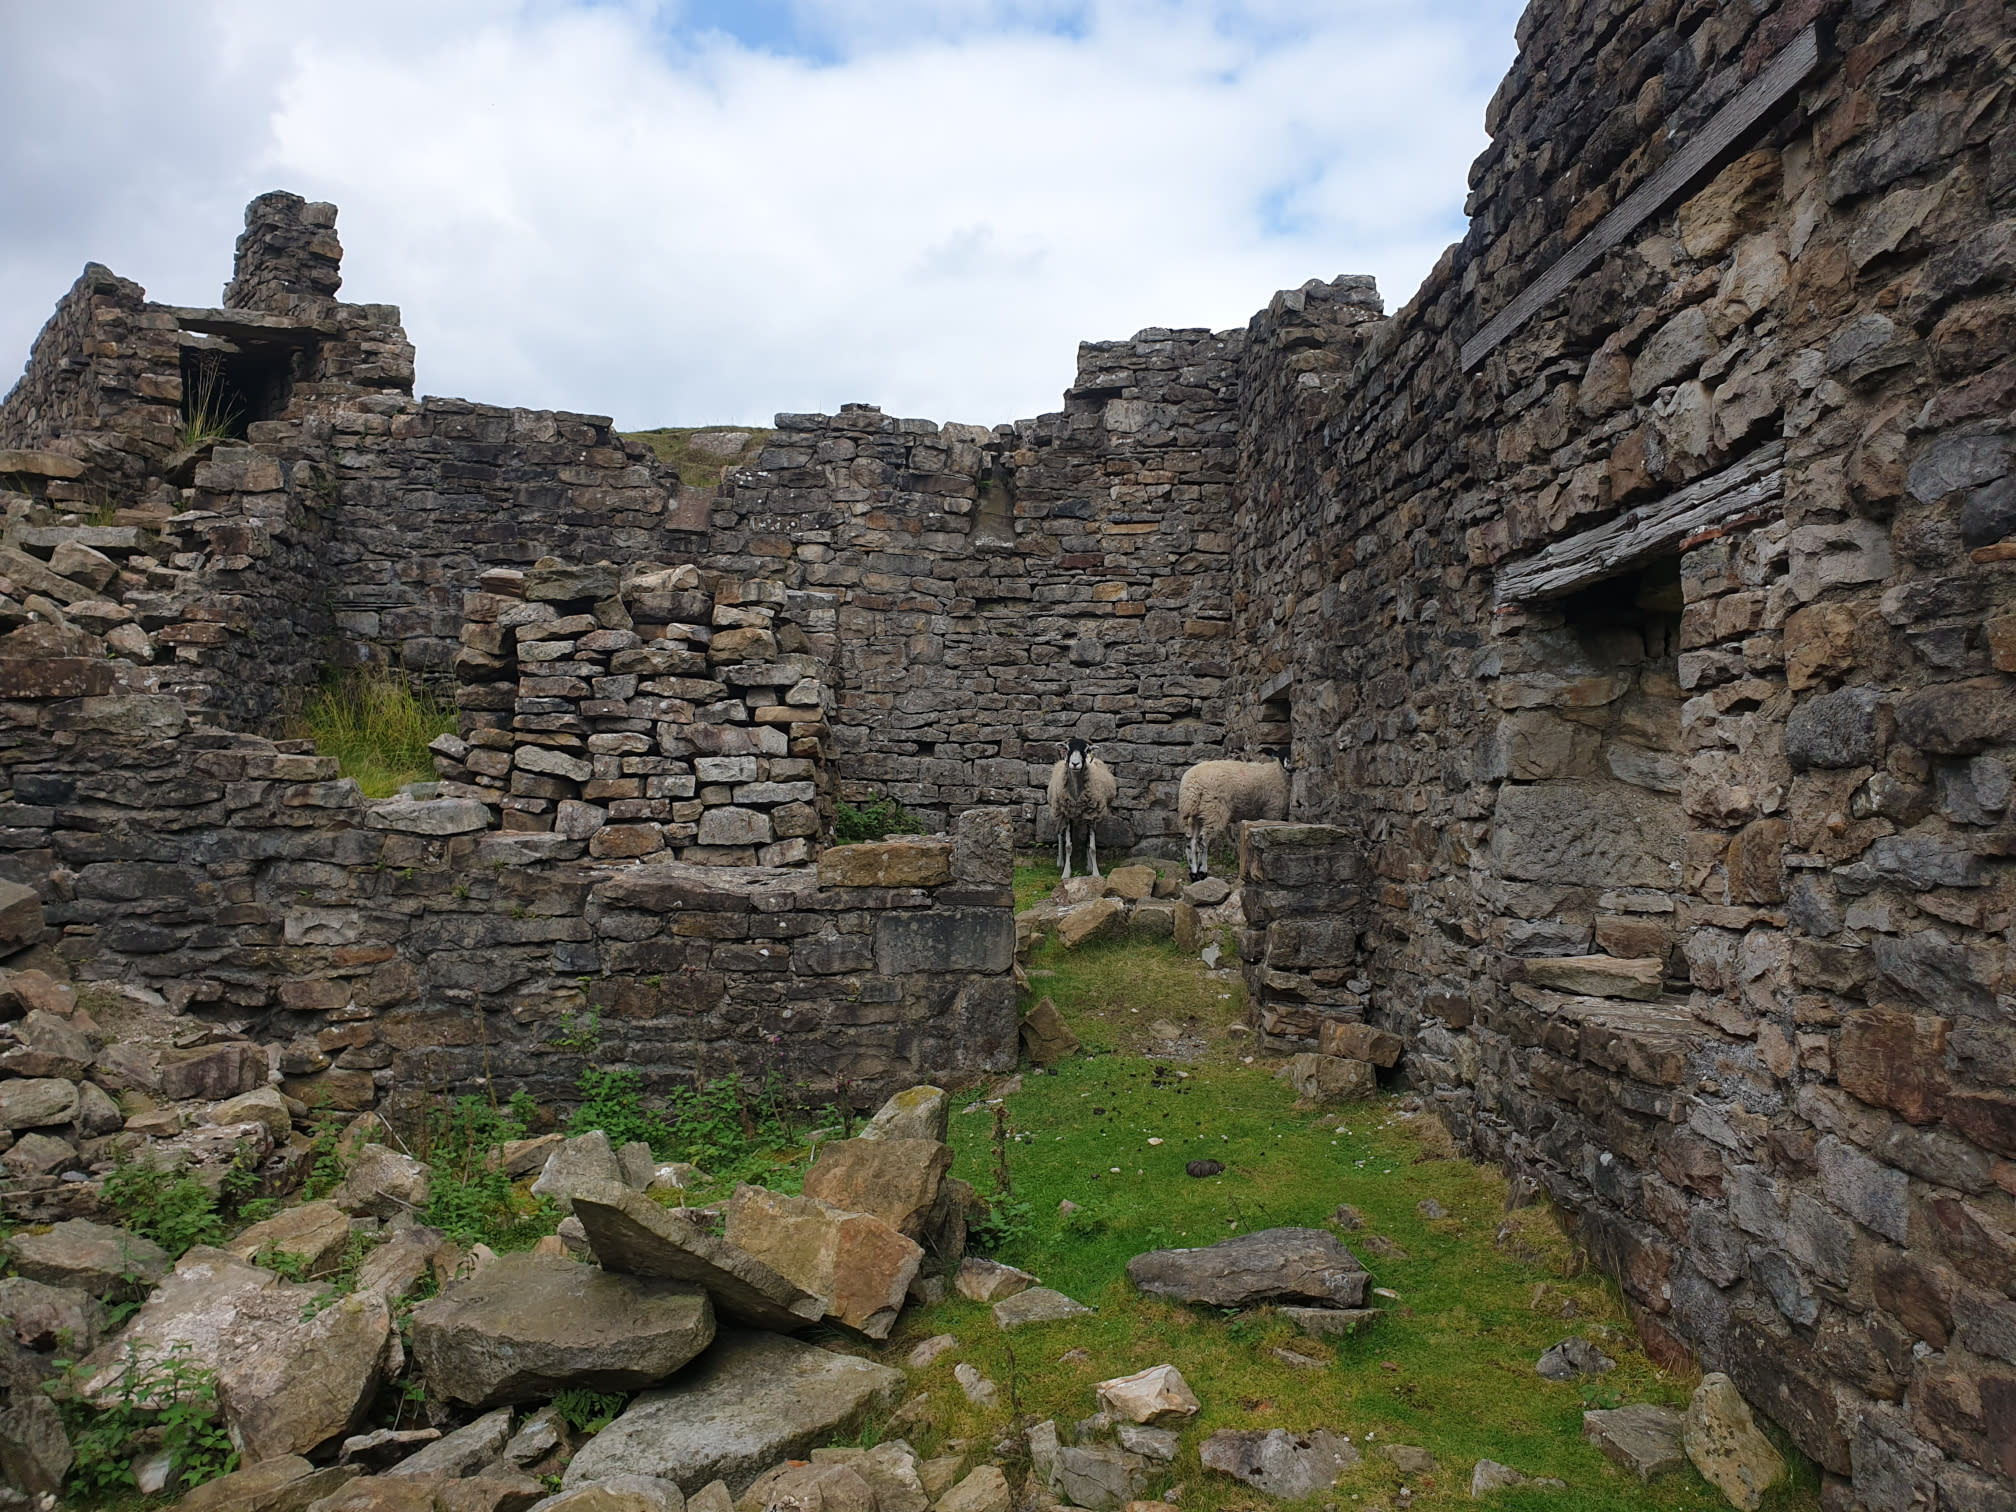
Crossing over Surrender Bridge next to the car park and looking over at the ruins.
